

Whether you’re starting an online store, want to show off the beautiful clothes you make, or are simply curious about clothing photography, you are in for an exciting journey of learning how to create a stunning image right at home with no special equipment. So how do you go about it? More importantly, what tricks can you use to create stunning photos of your homemade clothes?
You can photograph your homemade clothes on a mannequin, hire a model, or model yourself, depending on your budget. You can also make flat-lay pictures to show your pieces without a person weaning them. Alternatively, you can order AI-generated model images to showcase your designs.
In this article, I will offer you a bunch of ideas on how to showcase your designs with beautiful pictures you can easily make with minimal tools required. I will also share tips about clothing photography that will improve your images and create a distinctive brand that gets people’s attention.
1. Create a Concept
Before doing any photography, you need to clearly understand what you are trying to achieve. Some planning ahead can save you a lot of time in the process, as it is much easier to work when you know what you’re aiming for.
You can start by going through the pictures and selecting examples of clothing photography that speak to you, look impressive, or catch your attention. Try to figure out why they have that effect on you and how that effect was achieved. This brief research can give you inspiration for your upcoming shoot and help you settle on the concept that suits your brand the most.
Apart from the visual style, you also need to consider how your opportunities may be limited or amplified by the equipment and resources you currently have.
Let’s talk a bit more about these two aspects of creating a concept.
Get an Idea of the Visual Style
First off, you need to decide how you want to present your clothes to potential customers. Specifically, what do you want them to see, how do you want them to feel, and how ambitious can you go to achieve these goals you have in mind?
If you have no experience with clothing photography or photography in general, you can begin with something simple. A basic good-looking picture that showcases your items, lets people see all the details, and puts your clothes in the spotlight is a good place to start.
If you’d like to experiment and create something that stands out, you can think of more complicated and intriguing concepts. Some of the ways to do that include a shoot outside, showing clothes in movement, trying interesting editing techniques, etc.
Brainstorm some ideas that seem appealing to you and get an understanding of what the final photos might look like. Once you do, the next thing to consider is how to pull it off.
Think About the Technical Side
Before committing to any exceptionally challenging ideas, think about the resources you will need to bring them to life.
It makes sense to start with something easy without many technical complications. But even with minimum equipment and your home for a studio, it is possible to create something curious and unusual, so don’t hold yourself back with experiments.
When you get a concept that is both aesthetically pleasing, intriguing for customers, and doable with the resources at your disposal, it is time to get the necessities for your shoot.
2. Get the Equipment
The prospect of photographing your clothes in a professional and appealing way can be intimidating when you consider the equipment you need to make that happen: the light, the camera, the background… It’s a lot.
But don’t worry: I will explain everything you need step by step.
A Camera
There is no photoshoot without a camera, so let’s start here. Many people who don’t own a professional camera or are unsure whether they want to invest in one worry about this part the most. Well, I’m here to offer some solutions.
Firstly, you can borrow a camera for a reasonable price just for your shoot. Renting equipment is a normal practice for many professionals. So if you haven’t decided yet which camera will suit your needs best or whether you need one at all, renting is a great solution.
Secondly, if you have a phone with a good camera, you can use it for your shoot just fine. In fact, some platforms, such as Instagram, promote photos and videos shot on the phone more actively than those taken on a professional camera.
And, of course, you can purchase a camera for yourself if you wish to. There is a great variety of options on the market, so you will need some time to figure out which one is worth the investment.
The most important feature to look for is manually set exposition to ensure your pictures match each other’s tone. The rest of the functionality is optional and entirely up to your preference.
Lighting
Now, I won’t lie: investing in professional lighting makes a huge difference. While no shoot is possible without a camera, lighting is what makes a good image and should be taken seriously.
You can get a lighting kit that best suits your needs in terms of compatibility with your camera and price.
For a professional camera, getting a three-piece set of lighting stands is recommended to ensure the perfect look. On the other hand, continuous lighting is more reasonable if you’re using a phone.
If you’re not ready to invest in equipment, you can use the regular lamps you have at home to create the perfect lighting for your image. Just make sure you use bright white bulbs, no yellow light.
A Tripod
A tripod definitely makes your life easier by removing all the shaking and ensuring you always take pictures from the same angle. Tripods are not that expensive. So if at all possible, I would definitely advise investing in one.
You can also create a tripod by using furniture or stacking books together, but that would be less comfortable.
Background
What you’ll need for the background solely depends on how you imagine your shoot and what look you’re aiming for. The most basic choice would be to get a backdrop kit that includes white and some other colors of your choice.
A backdrop is needed if you want good-quality studio pictures. If you want the clothes to be shot like separate pieces and without a trace of a room or any space they’re in, a backdrop is exactly what you need. It is also the easiest to work with.
However, a backdrop might not be necessary if you have a specific idea of background in mind.
3. Prepare the Clothes
Once your equipment is ready, it is time to set up your homemade clothes for the shoot. Pick the items you want to include beforehand and think about how you want to position them.
A Mannequin
The option many people go for is getting a mannequin to display the clothes and pose in them for pictures. It’s a convenient way to present clothing items without spending much money and time organizing the shoot.
If you choose to go with this option, ensure you get a mannequin without cropped arms. It can be tricky to position the sleeves, never mind the extra time you’ll have to spend editing.
A Model
Another option is to get a model to pose in your homemade clothes for pictures. Getting a professional model is costly and requires a lot of management. But if that’s a realistic option for you, it is definitely the best approach to showcase your designs.
However, it is not at all necessary to hire professional models. You can ask your friends to pose for you or pose yourself and get someone to take the pictures. Either way, you get to show your items on an actual person and make impressive shots.
Posing is key if someone models your clothes for the shoot. Think about which positions and angles showcase your work the best, as it can be tricky to get a good picture that clearly demonstrates the item in the shooting process.
Model Images
If you would like to get someone to model your clothes but it’s not an option for you for whatever reason, there is another trick you can do: use AI-generated images. It’s cheap, creates stunning images, and won’t take much time.
Here is a fantastic service that offers AI-generated images of models that you can order online and get results in a matter of minutes. This method has a number of advantages, the main one being that you still get to show potential customers how the clothes would look on a person without having to put in much effort or money to get the pictures.
What’s more, the service lets you choose the model to represent your brand. You can specify body type, ethnicity, and even facial features, which allows you to create inclusive pictures that correspond to your brand image.
This is one of the easiest ways to make your catalog more diverse and appealing to your potential customers on a budget. All you need to use this feature is a picture of your clothing item and specified preferences regarding the model that would be wearing it. You get the final photographs almost immediately, saving you a lot of time.
All in all, this method is amazing for anyone who wants to make the process easier but still get stunning results.
Flat-Lay Pictures
Finally, you can take flat-lay pictures of your clothes. It might not seem as effective as demonstrating how the clothes would fit an actual human body, but it can actually look quite impressive if done right.
Start with selecting the perfect background. You can use a backdrop or make pictures in your home interior, surrounding clothes with aesthetically pleasing things, and creating a pretty environment around them. For flat-lay photos, sunlight from the window often works well.
And then comes the fun part: arranging your items so they look nice and can be clearly seen by a potential customer. It may be a little tricky to figure out the composition at first, but it’s also the perfect opportunity to let out your creative side and experiment.
Finally, you need to take the picture itself. The easiest way to go about this is to stand up, bend over your display, and hold the phone parallel to the surface where you’ve placed the clothes. Make sure the lighting is right and your shadow is not visible in the picture.
Preparing Clothes for the Shoot
Don’t forget to make sure your homemade clothes look their best before you start to shoot. You don’t want any imperfections to be noticeable in the photos.
Wash the selected items beforehand and iron or steam them to ensure no wrinkles are left. It is also a good idea to remove hairs and other stuff that gets on clothes around the house using a lint roller.
You might also need to steam or iron the clothes as you go through the shoot, so keep all necessary tools close and be ready to fix any issues immediately.
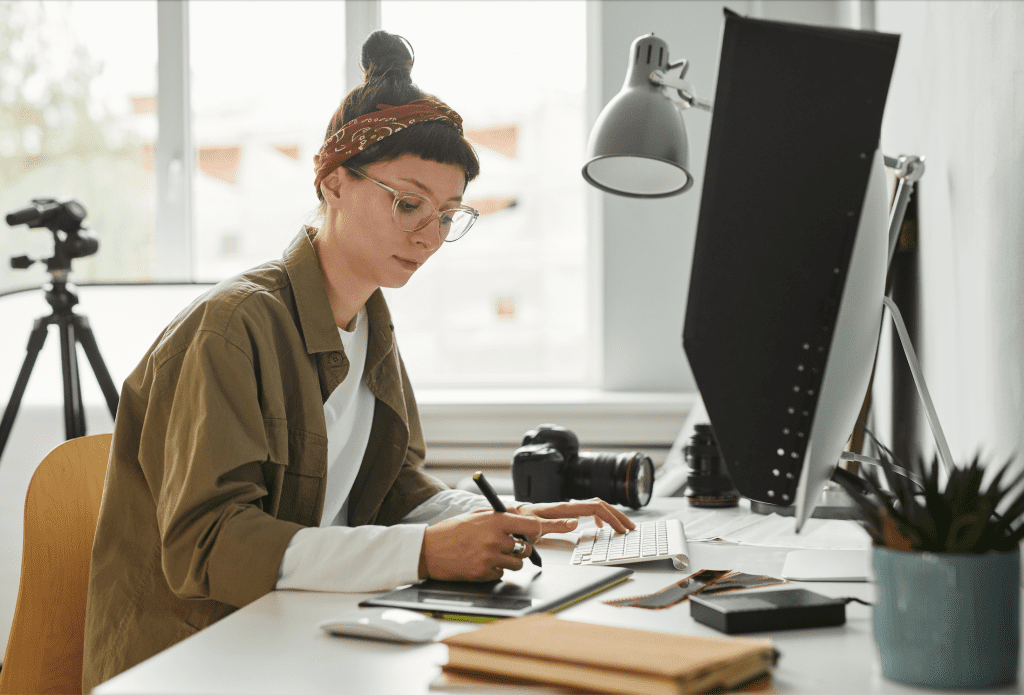
4. Edit the Pictures
Ideally, this part of the job should be delegated, as professional editing is crucial for the final look of your images. But if you can do some simple editing yourself and the pictures don’t require much additional work, it might be just enough.
If you plan on photographing and editing your clothes without professional help long-term, you might want to learn the editing part of creating professional-looking and eye-catching photos. Finding tricks and tips online shouldn’t be too hard.
To get you started, here’s one of the most popular tricks: make the mannequin or model in the picture invisible. This creates an illusion that the piece is floating in the air, which can be pretty cool if done right.
If you’d like to try that for your homemade clothes store, check out this tutorial that quickly explains how to do a similar design:
It will take some practice until you become a pro, but that’s only a matter of time if you’re eager to learn something new for your startup.
Conclusion
Photographing your homemade clothes may seem tricky, but you can create beautiful pictures regardless of the resources at your disposal and how proficient you are in clothing photography.
There is a wide variety of options to choose from: you can buy professional equipment, rent it, or use household items to organize a set right at home. You can also use a mannequin, hire a model, order model images or make flat-lay pictures.
To sum up, there’s always an opportunity to showcase your designs to customers for any concepts and budgets. All it takes is a bit of ingenuity.
Sources
- Pixc: How to Photograph Clothing for Your Ecommerce Store
- Shopify: Clothing Photography: Take Beautiful Apparel Photos (2022)
- I Am Patterns FR: Tips for photographing your makes
- Tech Fashionista: Take Beautiful Pictures Of Clothes At Home With Your Phone
- Squareshot: HOW TO PHOTOGRAPH CLOTHING FOR YOUR ONLINE STORE
- YouTube: Luke Ayers: DIY Product Photos – Easy, Cheap and Good-looking