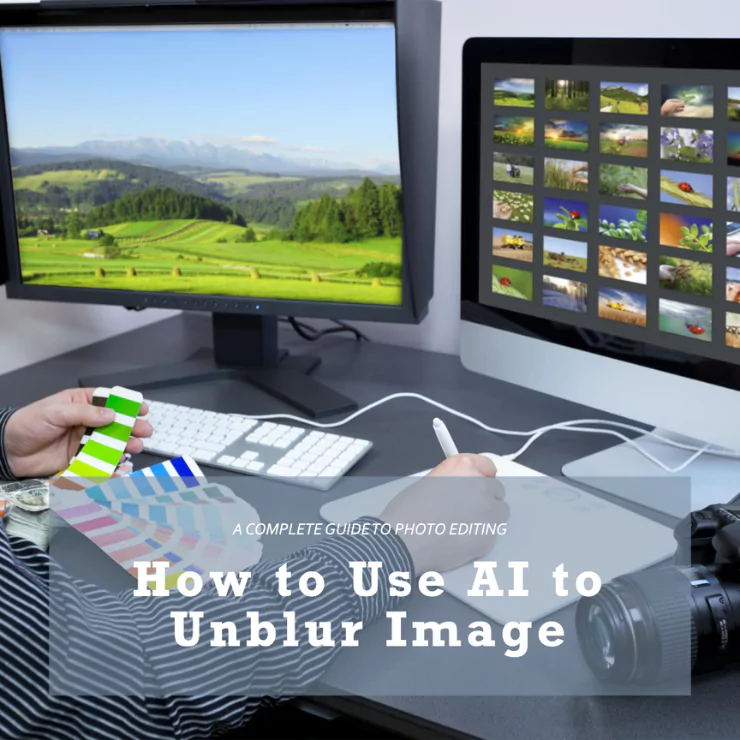
“How to sharpen an image?” I have heard this question a lot of times from people around me. They struggled a lot with sharpening their images only to find that it turned out to be unrealistic. All the aesthetic beauty is finished from it because it doesn’t feel natural.
Are you facing this same issue? Well, you don’t need to worry. I have a great solution for How to sharp photo using ai for you in this blog. And, that solution is AI tools.
These tools have made the life of people easy. You can sharpen your images with just a few clicks in a few seconds with the help of AI tools.
These tools ensure that you get clear professional photos. These photos are essential for graphic designing and social media managers. You can attract the attention of the audience through sharp images only. So, you need to avoid blurry images at every cost.
That’s why, I am also going to discuss a tutorial here on how to sharp photo using ai in minutes. This tutorial will tell you how to use AI tools to enhance the quality of the image.
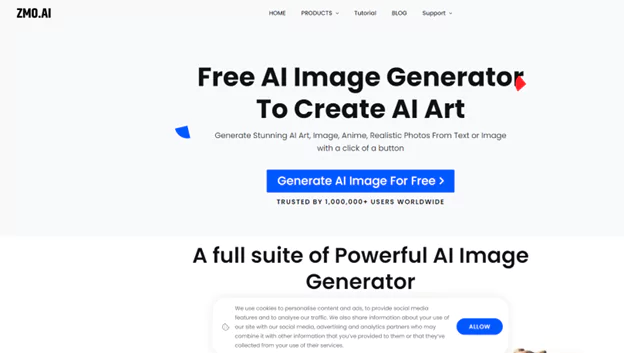
Use AI Tools to Sharpen Your Images
AI tools have advanced features to perform different tasks. It is based on neural networks in which different types of input are given to them. They have vast types of input and give results based on those inputs.
In their neural networks, there is vast data of blurry and How to sharp photo using ai. They know when an image is blurry and when it is sharp. They know what are the features that differentiate both of them. So, they sharpen an image according to that data.
Moreover, these tools have inpainting mode too. This tool studies an image and finds different imperfections in it. They find the gaps, blurry points and other missing aspects of the picture while analyzing it. So, it enhances the overall picture quality through its database.
These tools differentiate AI from other software and tools. Other software needs you to perform these tasks manually. But, on AI, you don’t need to do anything manually. When you use the ZMO ai tools your question about How to sharp photo using ai is cleared. You just need to give the command and AI will give you the result within seconds. As you don’t need to do anything here, it doesn’t require any specific skills and time from you.
How to Sharp Photo Using AI in Minutes?
Well, a small tutorial on How to sharp photo using ai will give you the answer to this question. For this, I am using ZMO. It is an advanced AI tool that has a lot of features. You can perform various tasks like anime creation, logo generation, Pokemon characters generation, Barbie generation, Minecraft characters generation, marketing photo creation and much more.
It has video generation, photo generation, and photo editor. So, you can do various types of editing on it too. These edits include changing the background, removing objects from the background, resizing any picture, enhancing the quality of an image, swapping anything, upscaling the image, and much more.
So, How to sharp a photo using ai? Well, this small tutorial will tell you the answer.
First, you must go to the ZMO website and sign up there.
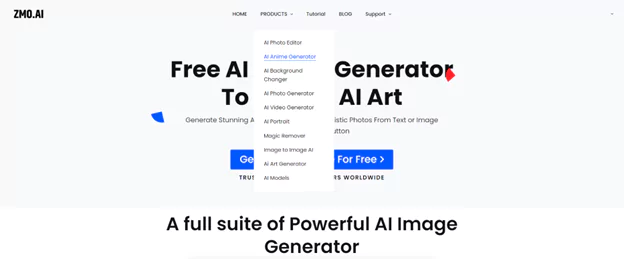
You will see products written on the top. You need to click on it and a new menu will come under it.
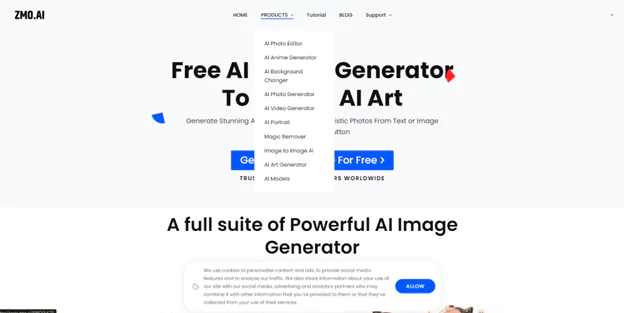
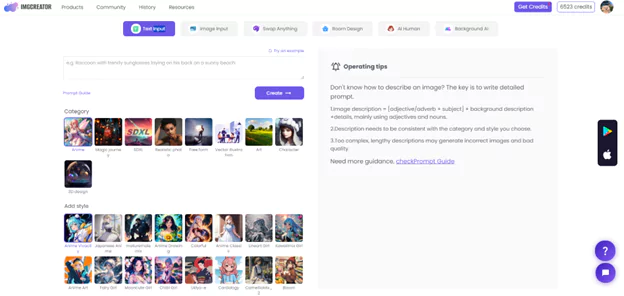
From this, you need to choose an AI anime generator. This is the second one on the list.
When you click on it, a new page will come up. It would ask you to click on trying an anime generator for free. You need to click on it to get into the new interface.
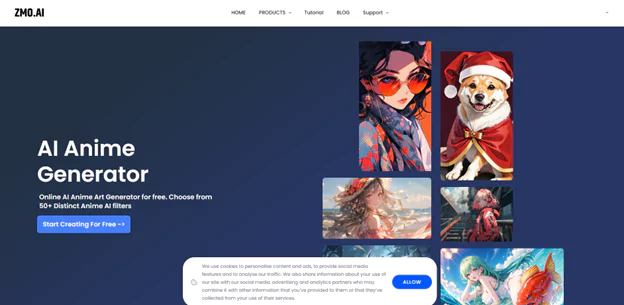
This new interface will contain a lot of features, categories and options. It is the full anime generation warehouse of ZMO. You can see each category has different styles in them. And, there is a variety of styles and categories on this tool.
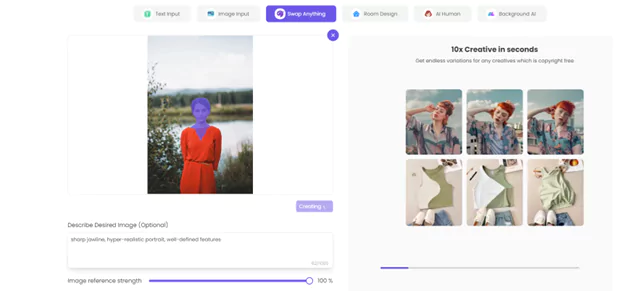
You will see the “Swap anything” option in the top menu among these features. It is with the Image input option, the third in the menu list. You need to click on it. This will take you to a new page.
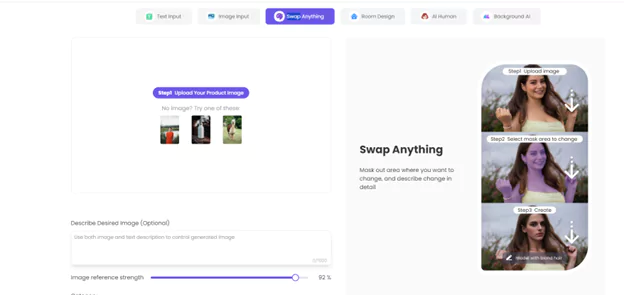
Here, you need to upload the picture you need to sharpen. You can do it by clicking on the blue option.

Now, it would ask you to mask the area you want to change. You can click on that area and it will become blue. You can mask the whole picture too if you want.
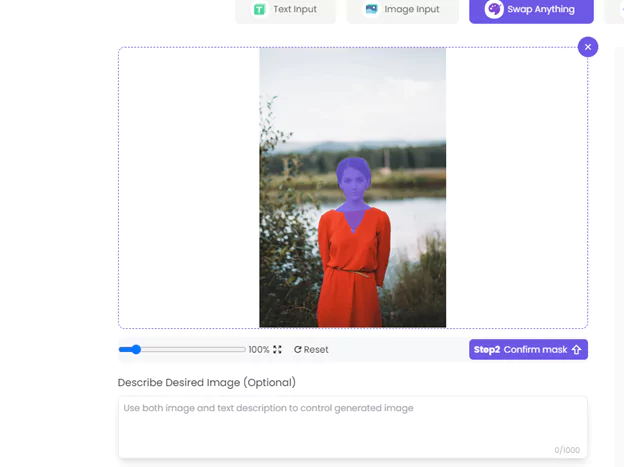
In it, I have masked the face and neck area in blue. After masking it, I confirm the mask.
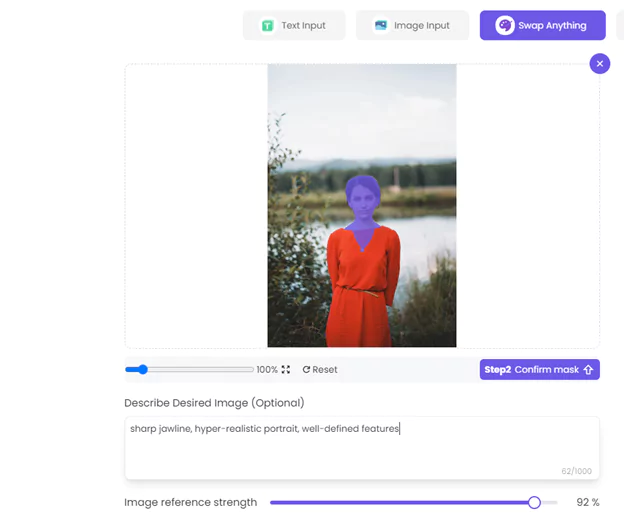
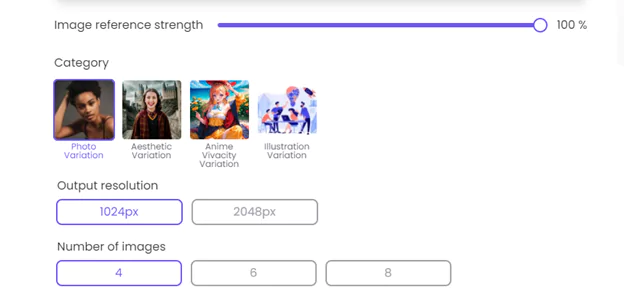
After that, you can write a prompt to explain what type of changes you want in your selected area. Moreover, you should increase the image reference strength to 100 percent. Also, you should do settings of image number and output quality. You need to tell the AI how many image variations you want in response to your prompt and what should be the quality of an image.
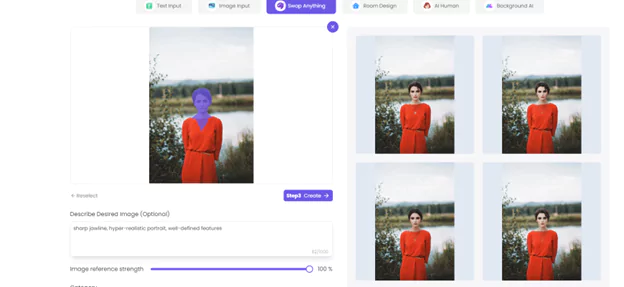
Now, after doing all these settings, you need to click on the Create button.
It would take a few moments of ZMO to generate images. You need to wait and it will give you the results.
Now, you need to download the image you want. For this, click on that variation. When you click on it, it will give you some options. Among them, there is a download option.
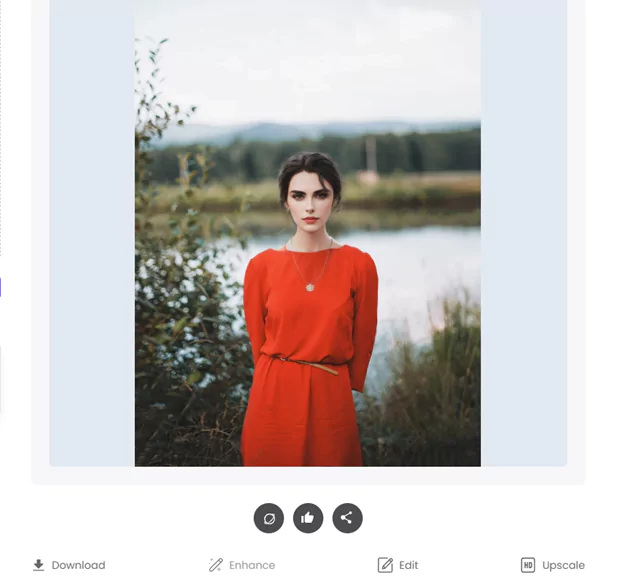
Now, after downloading, it is saved in your gallery.
This is the whole tutorial on How to sharp photo using ai. You may be curious about the main features of ZMO that make it an ideal choice for different users. eCommerce business owners, social media marketers, graphic designers and influencers used this tool for different purposes. Why do they do this? Well, let me tell you some amazing features of ZMO.
Amazing Features of ZMO.AI
- Easy to Use: The tutorial must have given you an idea of how easy it is to use ZMO. You don’t need to spend any time learning this tool as it has a user-friendly interface.
- Free to Use: It has a free version that allows you to use this tool as much as you want. So, you don’t need to spend any money on it for a while.
- Use it Anywhere You Want: You can use it anywhere you want because it is available in app form too. You can use it on iOS, Android, Windows and Mac without any difficulty.
- Multiple Inputs Option: You can add multiple types of inputs in this tool. It includes text prompts, image prompts and video prompts. You can give the instructions to it in the form of text only. If you want to give any reference image or video to it, you can do it too. This reference image and video will help AI in generating the results you are looking for.
- Different Tasks: You can perform different tasks on this tool. It includes image generation, photo editing, video generation and face swapping. With it, you can make AI avatars, models, sketches, anime characters, social media posts and much more. In image generation, you can create realistic photos or different anime characters too. With it, you can also turn your picture into a professional one through its Creati App.
Why Do Your Images Become Blurry?
You may want to know different reasons for How to sharp photo using ai. Well, some common reasons are here:
- Unbalanced Shots: You may have set everything perfectly, but while taking a shot, your hand trembles a bit and you lose your grip on your mobile. This causes an unbalanced resolution in your picture, making it less sharp.
- Old Device: New and modern devices have high resolution cameras that allow you to make sharp images. But, if your device is old, it may not have advanced software. So, you may not get high resolution pictures.
- Low Light Photo: If your shooting point doesn’t have sufficient light, it would make the image blurry. You need bright and enough light that will focus on your subject. In this way, you can get focused and sharp images.
- Adding Filters: You may add tons of filters to your photo. Adding wrong filters and a lot of them can also make the image low resolution. Fortunately, AI can also help you in adding good filters. So, you should leave this work for AI only.
- Environmental Problems: If you are shooting outdoors, some environmental problems may make your image blurry. It includes high temperatures, smoke, fog and poor air quality. These factors indirectly make your image blurry.
- Lens Problem: Before shooting, you should confirm that your lens is clean. Because any dirt on the lens can also impact the quality of your image.
Conclusion:
How to sharp photo using ai is a hard task because there are various factors contributing to the low resolution of the image. But, fortunately, there are a lot of AI tools that have made this task very easy. You can sharpen blurry images within a few seconds with these tools. Among them, the best one is ZMO. So, you should try this tool as soon as possible.