

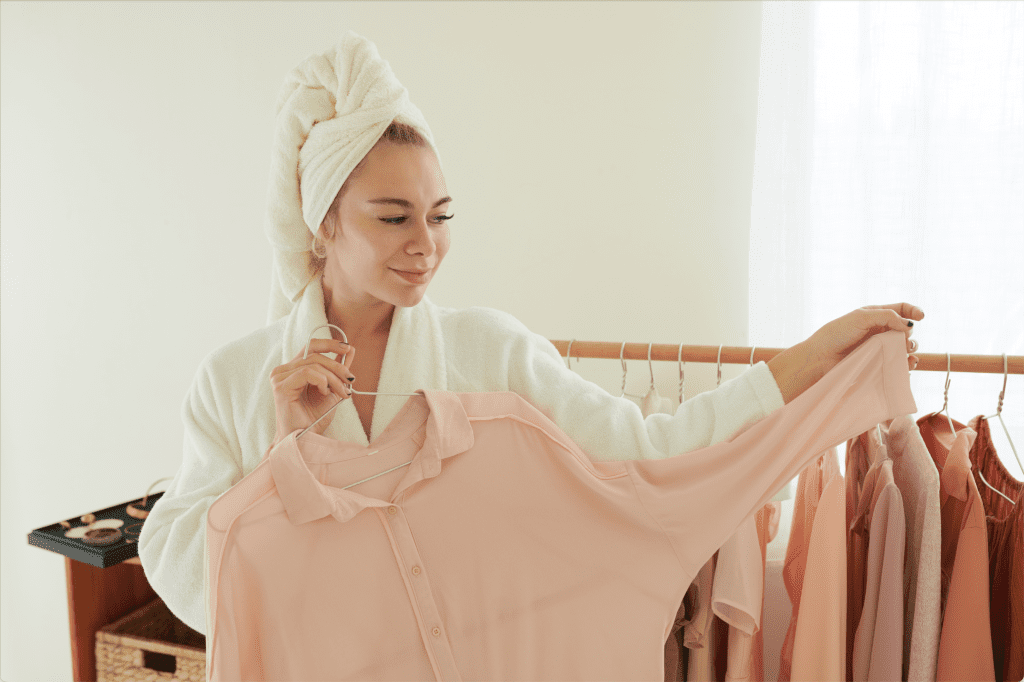
If you want to start selling clothes online, you have to take and choose the best shots to post. One of the easiest ways to go about showcasing your items is to shoot them while they’re still in their hangers. Sadly, these pics are not always the most flattering, so how can you make sure you’re able to capture eye-catching, attractive photos?
You can take good pictures of clothes on a hanger by choosing the right background and adequately positioning the product to avoid wrinkles and folds. You can also enhance the photos via Photoshop or other editing software such as Zmo.AI.
In this article, I’ll walk you through the step-by-step process of taking high-quality photographs of clothes on a hanger. I’ll discuss everything you need to know, including the proper setup, lighting, positioning of your clothes, and much more. Read on to learn how to make your clothes look as good online as they do in real life!
1. Choose the Right Background
When photographing products, you want them to stand out well enough to entice customers into buying them. You can’t do this if the background is too busy or includes another, more exciting object.
To help you out, you can use software such as Zmo.AI to remove unwanted objects or give the shot a cleaner finish. Simply upload an image on the site’s platform, highlight whatever you want to be removed, drag the brush tool, and then voilà—clean background!
Moreover, remember that it’s not flattering if your background blends in with your product. Say, for example, you’re trying to sell an orange-colored top. It would not be flattering to have an orange background, which disallows the top from popping out.
This is why neutral colors tend to be popular when it comes to backgrounds. The audience’s eyes are immediately drawn towards an item, for the background isn’t fighting for the audience’s attention. Ideally, white could be an excellent background, but this isn’t always the case.
For example, if you’re catering to high-end customers and have products that scream luxury, you can opt for a black background. If you have clothes that are gold or have a lot of sparkle to them, black would be the superior choice again.
You can also play with pastel backgrounds if you’re catering to children or going for a girly niche. What it boils down to is knowing your products, your goals, and your target audience. It would also help to get a transparent rope to hang the hanger on.
2. Go for a Wooden Hanger
Hangers come in various models and what seems to be the most popular are the wooden and plastic varieties. Using a wooden hanger over plastic is highly advisable, as wood looks cleaner in photos.
Plastic tends to have an unpolished finish, which communicates that your products may not be as high-quality. Plastic hangers are much cheaper, after all. Furthermore, wooden hangers blend more seamlessly into various motifs. Whether you’re going for an earth-toned, street casual, or formal business theme, wood tends to complement each of them.
Furthermore, it would be best to go for hangers with no bar. When you place a shirt on a hanger with bars, the bar will appear in the photo, which can be challenging to hide. If you don’t want to deal with that, get one with no bars.
Alternatively, you can remove the hanger altogether using the ZMO Remover. The tool is very straightforward to use and gets the job done quickly.
3. Make Sure Your Clothes Are Free From Lint and Wrinkles
Now that the background elements are sorted out, it’s time to focus on the product. Before placing clothes on the hanger, ensure they’re free from lint by thoroughly brushing them with a lint remover.
You also don’t want wrinkles showing up in your photo, as this takes away from the design and communicates low quality. Get rid of wrinkles by ironing or steaming the clothes prior.
4. Make Sure the Clothes Hang Even
Making your shirt droop too much to one side will turn off potential customers. You must ensure that the shirt hangs even by ensuring that each collar side is parallel to the other.
Additionally, if the shirt droops too much to the front, pull the back and vice-versa. When possible. Pop the seams so that the audience can see them. This makes the entire shot look symmetrical and aesthetically pleasing.
5. Get Rid of Unflattering Folds
No matter how well you iron or steam your clothes, there might still be folds that will show up, and these can really ruin the shot.
Tuck the sleeves behind the shirt’s body. You should see the body’s entire rectangular shape. Having the sleeves cover the body takes away from the design and structure.
Since the folds won’t go away, what you can do is make sure they look even, at least. If the shirt has four folds on the body, make sure they fold evenly at the center. Two folds to the left, two folds to the right.
If the background is near the center, you can tape the sleeves on the background to prevent them from moving. Be careful, though, when it comes to taking the tape out.
6. Choose a Good Light Direction
Before you take your shot, you want to go in a light direction that best accentuates your product. You can either set up a light source diagonally from the top left to the bottom right or the opposite.
Some shops opt for the same light direction across all their products for a more organized feed. However, if you have products with features you want to accentuate, such as a unique sleeve, you can set up the light accordingly.
Afterward, choose a reasonable distance, and shoot away!
7. Aim for Symmetrical Shots
Once you open your photos in Photoshop, grids will normally appear to guide you. They give you an idea of whether the image leans too much to one side. It would be best to aim for symmetry because symmetry always pleases the eye.
Additionally, by placing the center of your shirt at the center of the grid, you are essentially directing the audience to look at the center of the shirt. This is particularly important on shirts with designs at the center.
The audience looks at the center first and works outwards to the body and then to the collar and sleeves. This positioning allows the audience to really look at your product.
8. Have a Polished Background
Once you have that sorted out, you can begin cleaning the background. A great way to do this would be to place a layer of white behind your actual photo in Photoshop. However, allowing it to stay that way would be off-putting for the audience, and you don’t want that.
What you can do is blend the layer of white onto your photo. This allows for a seamless white background. Alternatively, you can use the “Rasterize Layer” option.
After you click “Rasterize Layer,” highlight an inch-thick of your photo’s upper background and then drag it upwards to cover the white layer. Do the same for the white layer below.
9. Remove Wrinkles From Your Clothes
To make your clothes more enticing, you can remove wrinkles via Photoshop.
Here’s a step-by-step guide on how to do this:
- Open your photo in Photoshop. Click on the Layer, and for Windows, press CTRL + J. This will give you two additional copies. To make it easier for you, name the first copy “Layer 2” and the second copy “Layer 3”.
- Click on Layer 2 and then go to the “Filter” tab and then go to “Blur,” and then click on “Gaussian Blur.”
- You will see your product, and you will see a dragging tool below. Dragging it to the right will blur your product, removing wrinkles. If you drag it entirely to the right, it will give you a complete blur, and you may not want that. Play with the tool until you find the right amount of blur. Click OK once you’re done.
- Click on Layer 3, go to the “Image” tab, and then go to “Apply Image.”
- An “Apply Image” box will pop out. Under Layer, select “Layer 2”. You’re applying the blurred and wrinkle-free Layer 2 onto your original layer. Under Blending, select “Subtract.” On Scale, select a low number; 2 would work best. On Offset, 128 is best.
- Now, go to Blend Mode and select Linear Light. Blend Mode can be found to the left of Opacity on the lower right of your screen.
- Click again on Layer 2 and select the brush icon on the vertical toolbar on the left of your screen. Select the Mixer Brush tool.
- A toolbar will appear on top of your image. In this toolbar, you will see a grid-like icon with a drop-down button. Click on the drop-down and then select Clean Brush. Remember, you are using a Mixer Brush tool. Think of it as using an actual brush for a painting. Brushes naturally pick up the colors it brushes, and selecting Clean Brush ensures that only the colors you want are actually brushed.
- Ensure that the “Clean The Brush After Each Stroke” button is clicked. It’s the one with the brush icon with a diagonal bar over it.
- Under Wet, change it to 4%. Load, Mix, and Flow can be kept the way they are.
- Brush all over the product. You can see for yourself the wrinkles disappearing as you brush over them. You can brush as much as you want if you really want that smooth finish, but try to go for a polished but still natural-looking shirt.
- Finally, save all of your changes.
A bit complex, isn’t it? That’s Photoshop for you. It really takes a lot of practice to get the desired effect. And often, you get lost with so many buttons, toolbars, and tabs that you give up!
Luckily, Zmo.AI allows you to use tools that create the same effect as that of Photoshop, but without requiring excessive effort.
How it works is it allows you to type whatever it is you want to see in your photo. Let’s say, for example, you open your shirt’s photo using Zmo.AI’s Image Editor, and you want to change the background to plain white.
All you have to do is brush the background to be transparent and type in “shirt white background” to get the same photo with a different background. It’s that simple! No need to go through all the various tools in Photoshop when you can simply type in what you want.
See How Your Product Looks on a Model
You can also take it to the next level by placing your clothes on a model. Zmo.AI has software that allows you to put clothes on a virtual model. You can have models of all body types to show how good your product looks on different people.
You can even select the model’s ethnicity to see how well the item would look on everyone’s skin tone. As the digital market expands, catering to as many people as possible becomes of essential, so make sure your clothes look good on everyone regardless of their physical attributes.
Once you’ve gotten your product photo cleaned, you can simply upload it to the site, choose your model, choose a background and a preferred pose, and you’ll get your photo in minutes. It saves you so much money and time!
Final Thoughts
Haphazardly posting pics of clothes on a hanger to your shop’s site might be quick, but it won’t give you the edge you’re probably looking for over your competitors. Make your products pop by following the tips in this article, and you’ll have your clothes selling like crazy in no time!
With the right software, you won’t have to scout for the perfect model, build the perfect setup, and shell out money for a photographer.