


The eCommerce business cannot thrive without the full implementation of product photography because it plays an immense role in sales generation. More customers are said to react positively to images than texts in most emails sent by eCommerce store businesses to their customers. Product photos are your best attempt to convince consumers to make orders.
Product photography is the art and act of taking accurate and captivating pictures of products to promote sales and improve consumer convictions about the product. Going by the studies of Justuno, 93% of consumers regard visual appearances as an influential factor in purchasing. In addition, according to Etsy, about 90% of the sampled population believed that the quality of product images influenced their choice of products.
Product photos can influence consumers’ perceptions about your company. Therefore, not having a good product photograph will give the consumers a wrong impression of your brand. Going by all these records of the impacts of product photography, you must learn how you can take attractive product photos by yourself. The following headline addresses the proven steps to guide you and the equipment you will need to take stunning product images.
7 Proven Tips for taking high conversion product photography
Taking high-converting product images does not require much money or expertise if you can follow these steps.
- Set up your Shooting location/room and Background
Backgrounds are the framework for your product photo. It determines the final look of the product image. Setting up a location and Background helps maintain an apt focus on the product while simultaneously simplifying your editing during post-production.
Generally, using a white or a bright-colored backdrop for product photography makes it easy to edit out any unwanted edges and objects.
The following are the components that are pertinent to exquisite product photography. They define the ambiance of your location.
- Sweep for White Background
Sweeps are papers that serve as an underlay for your product and then make a curve up the wall. The curves made on the sweeps are not visible on the camera, unlike the angles when product images were on the bare floor. The sweep ensures that the product catches the attention of the customer.
If your plan is for a low budget, you can use a cloth that is well clipped to a chair to substitute for a sweep.
- Natural Backgrounds for Portrait Images
If you plan to have portrait images, then natural backgrounds will be a good choice of Background. It is dynamic and appealing when used as Background for product images.
Portrait product images are advised when using natural backgrounds because they bring more depth and focus.
Altogether, the Background you will use must be as clean as ever. And objects that can be distracting should be removed.
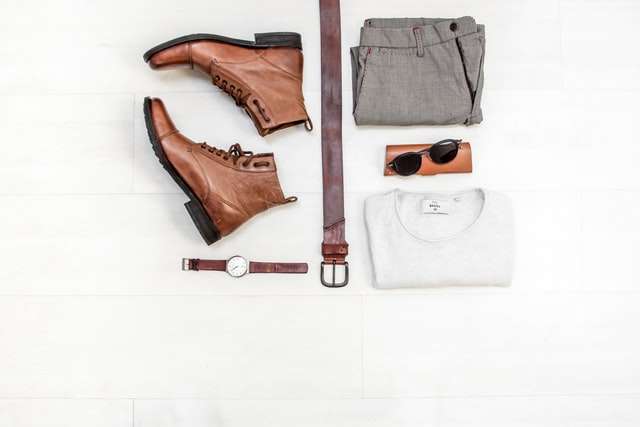
- Set your product in the spotlight
After setting the background and shooting location, putting your product for the shoot is the next thing to do. Sounds simple right? It will be surprising that you may spend unimagined time trying to get the proper positioning for your product photography.
While positioning your product, ensure that the product is placed in front of the backdrop and center-placed. Also, make use of a flat surface – table tops, chairs, side shelves, and other flat surfaces can be used.
Using a bust is recommended for tiny products like necklaces and beads, among many others. It is because the figure displays those kinds of products better. However, you may spend more time getting the proper position for tiny products.
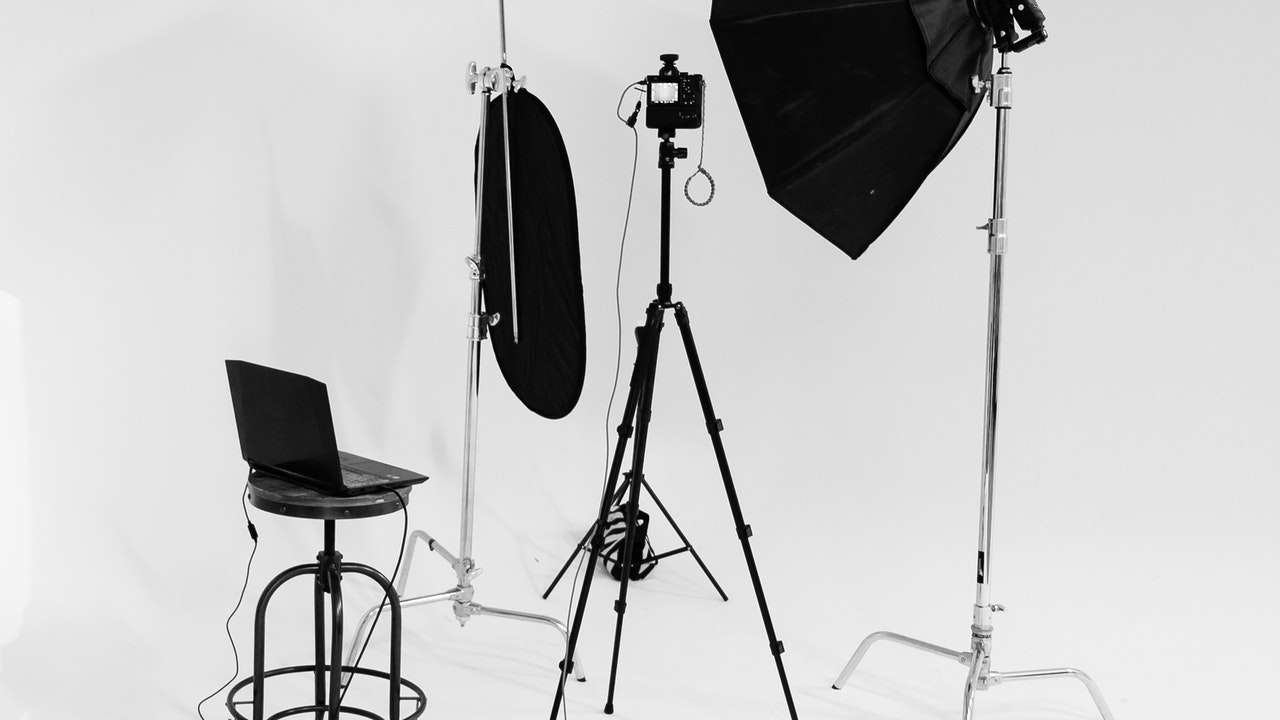
- Set and Adjust your Lighting
Lighting is one of the essential determinants of quality in product photography. If you can achieve good lighting, you will have a little work to do during post-production and good product images.
Light sources for product photography can be from two different sources;
- Natural Light
Natural lighting is unarguably the best light source if you are on a low budget. But, for outdoor shoots, natural lighting is your best option. To optimize the natural light source fully, ensure you take your product photos during daylight, and the sun must shine at its brightest intensity.
To use natural light for an indoor shoot, you must put your backdrop directly facing the window for easy light penetration.
- Artificial Light
Artificial lights are pretty expensive, but they are essential if you opt for an indoor shoot or are willing to shoot at night. After getting your lights, positioning them is a choice you must make to prevent shadows from casting on your product photos.
After a successful light positioning, ensure that the positions are documented so you can have uniform product photos after your shoot.
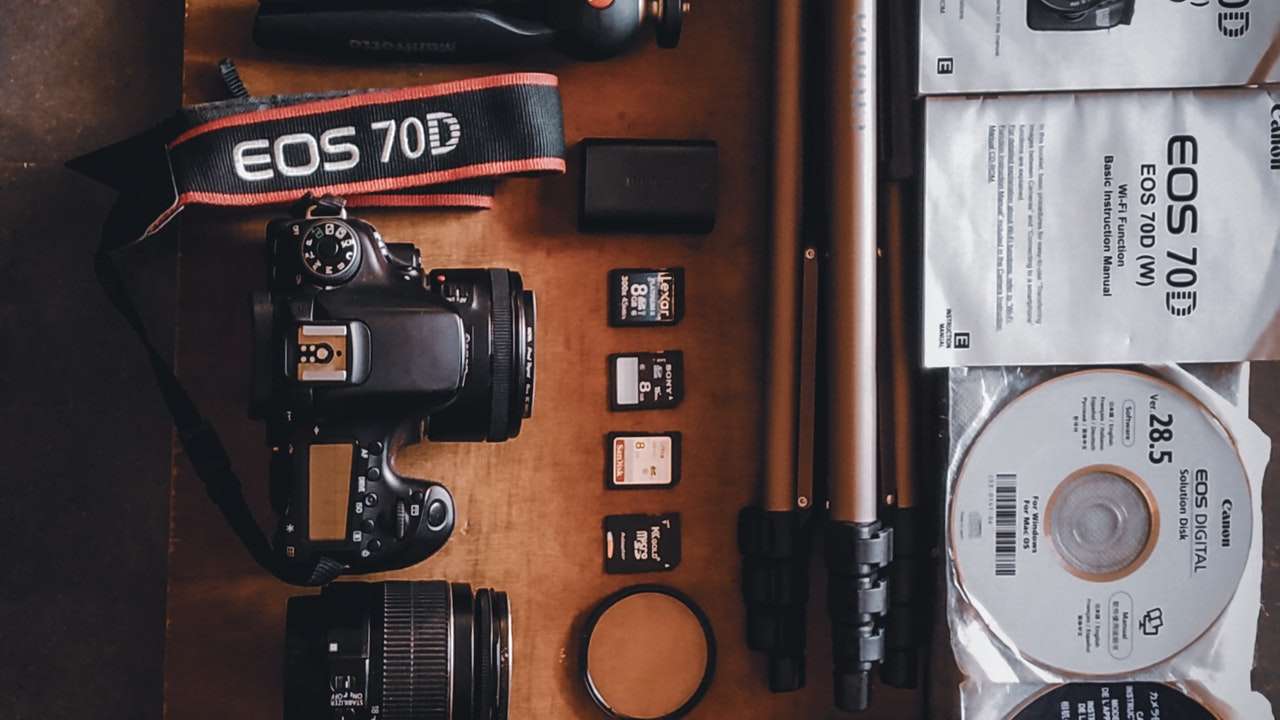
- Adjust your Camera Settings
Using the right camera for your shoot is essential for quality product photography. On the contrary, investing a fortune to acquire a camera is not compulsory. You can use your phone if the resolution is high.
In the case that you are using a sophisticated camera, below are the advised procedure you must adopt for successful product photography;
- Adjust the white camera balance to the same temperature as the studio light
- Depending on the kind of product photo, adjust your aperture. You have to use a smaller aperture for a sharp and more focused picture. A small aperture setting gives a needed depth to your product photo.
- Switch off the flashlight toggle because you have an external light source already.
- Ensure you set your camera to take the pictures at the highest of its image quality. In terms of size, select the largest file size. Also, do the same with the image quality – select the superfine option.
- Take Many Shots and Do an Assessment
You must have options when you take snapshots of your product photos. The first set of pictures may be foggy, rusty, or blurry. Take your shots from different angles and distances.
Once you snap them, you can upload them to your computer. Then, you can take a critical look at those pictures and start cutting down your choice.
- Select the Best Picture and Edit
After cutting down your options, you can now make a final selection of the product image that best depicts the perception you have in mind. After that, you can use picture editing software and applications to edit your product images to attain the best quality.
- Optimize your Product Photo for your Website and Social Media
After editing, your product image may come out heavy. And this is not good for your eCommerce website. So, it would help if you minimize your appearance.
The fact is that when you post heavy product images, it increases the loading time on your website. Hence, this may affect your customer’s countenance and patience. Therefore, you must optimize the product images for your website.
Product image optimization can be done using minifying software to find a good balance for your eCommerce store.
Equipment needed for an attractive product photography
Should in case you want to have your product photos by yourself, below are the list of equipment needed for the shoot
- Backdrop/Sweeps
- Light tent
- Lighting source
- Tripod
- Camera or Sophisticated phone
- Computer and Editing software
Conclusion
Product photography plays a huge role in driving sales. And the fact is that, since you operate an eCommerce store, you cannot do without having succinct product images. And now that you have the information and a proven DIY guide for you to have attractive product photos, all you can do is give it a shot.