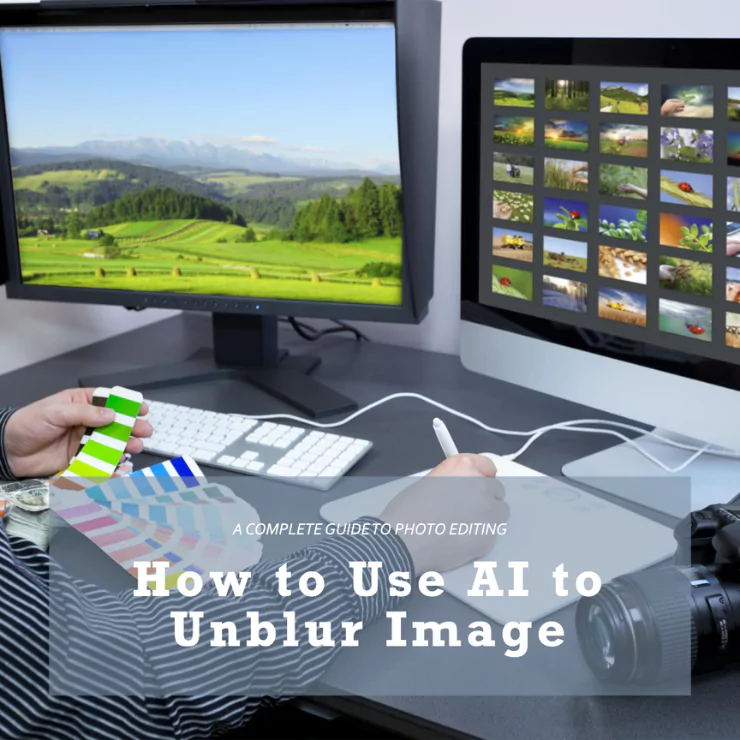

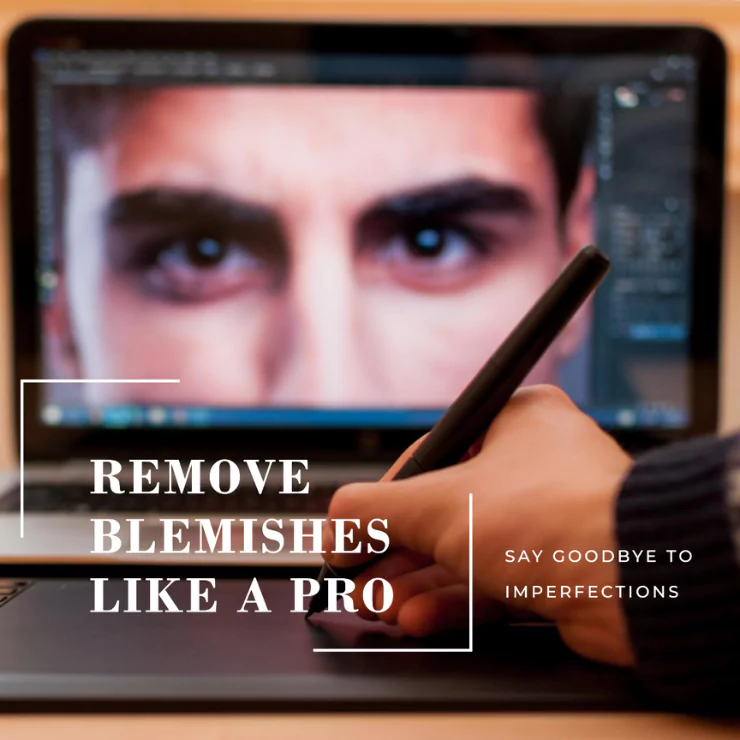
Blemishes are marks on a photo, such as acne, scars, wrinkles, spots, or stains. They can ruin the impression of an otherwise perfect image, especially if you want to use it for professional or personal purposes. Fortunately, there are ways to remove blemishes from photos using different tools and techniques. This article will show you how to remove blemishes from photos with Photoshop, a popular photo editing software, and ZMO.AI, a powerful online tool that can remove any undesirable object from your photos in seconds. We will also compare the usefulness and drawbacks of both methods and help you choose the best one for your needs.
When Should You Remove Blemishes from Your Photos?
There is no definitive answer to this question, as it depends on your personal preference and the purpose of your photo. However, some common situations where you might want to remove blemishes from your photos are:
To Retouch Portraits:
If you are taking a portrait of yourself or someone else, remove any blemishes that distract from the facial features or expression. This can make the portrait look more flattering and professional.
To Prepare Professional Photos:
If you are using photos for advertising purposes, such as for a product, service, or brand, you should remove any blemishes that detract from the quality or appeal of the photo. This can make the image look more polished and attractive to potential customers.
To “Clear Up” Images Used for Graphic Design:
If you are using photos for graphic design or poster creation, such as for a logo, flyer, or banner, you might want to remove any blemishes that interfere with the design or message of the photo. This can make the image look more transparent and more impactful.
To Practice Removing Imperfections:
If you are learning to use photo editing tools or techniques, consider removing blemishes from photos to practice and improve your skills. This can help you master the art of photo editing and manipulation.
How to Remove Blemishes from Photos with Photoshop
Photoshop is a popular photo editing tool with many features to enhance and modify photos. One of the tools that you can use to remove blemishes from photos is the spot healing brush. This tool can automatically blend the pixels of the Blemish with the surrounding area, making it disappear. Here are the steps to use the spot healing brush to remove blemishes from photos with Photoshop:
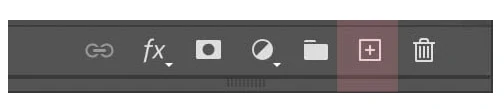
Step 1: Create a new blank layer:
To avoid affecting the original photo, create a new blank layer on top of it. Go to Layer > New > Layer or press Ctrl+Shift+N on your keyboard to do this. Name the layer as “Blemish Removal” or something similar, and click OK.
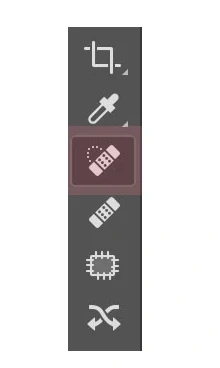
Step 2: Enable the spot healing brush tool:
To activate the spot healing brush tool, go to the Tools panel on the left side of the screen and click on the icon that looks like a band-aid with a dotted circle around it. Alternatively, you can press J on your keyboard to select the tool.
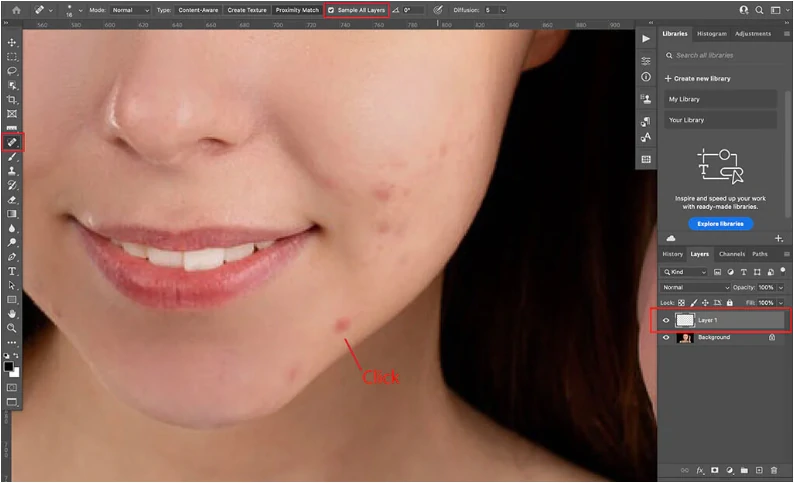
Step 3: Adjust the tool settings:
To customize the settings of the spot healing brush tool, go to the Options bar at the Top of the screen and make sure that the following options are selected: Content-Aware, Sample All Layers, and Aligned. You can also adjust the Mode and Opacity of the tool according to your preference.
Step 4: Adjust the brush settings:
To change the size and hardness of the brush, you can use the [ and ] keys on your keyboard or click on the menu next to the brush icon. You should choose a brush size slightly larger than the Blemish and a brush hardness low to medium.

Step 5: Remove the Blemish:
To remove the Blemish, click on it with the spot healing brush tool. You should see the Blemish disappear and blend with the surrounding area. If the Blemish is oversized or irregular, you should click and drag over it with the tool. You can also zoom in and out of the photo using the Ctrl+ and Ctrl- keys on your keyboard or the Zoom tool on the Tools panel to view the Blemish and the result better.
Quick Way To Remove Blemishes with ZMO.AI
ZMO.AI is an online tool that can remove disliked objects from your photos in seconds. It uses AI to examine your photo and remove its blemishes. You don’t need to download or install anything; you can use it for free. Here are the steps to use ZMO.AI to remove blemishes from photos:
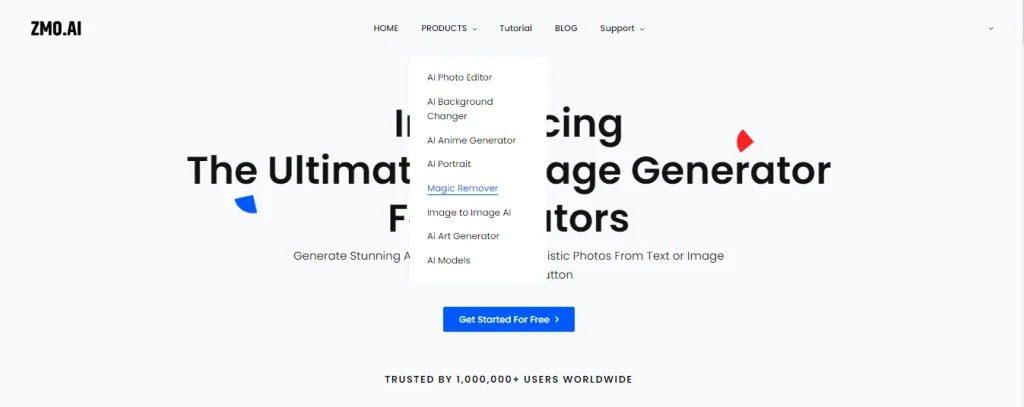
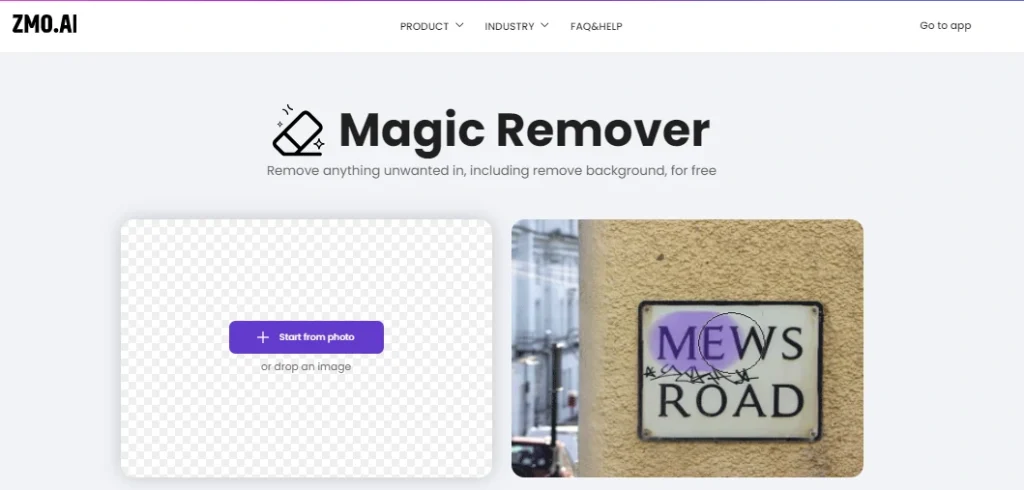
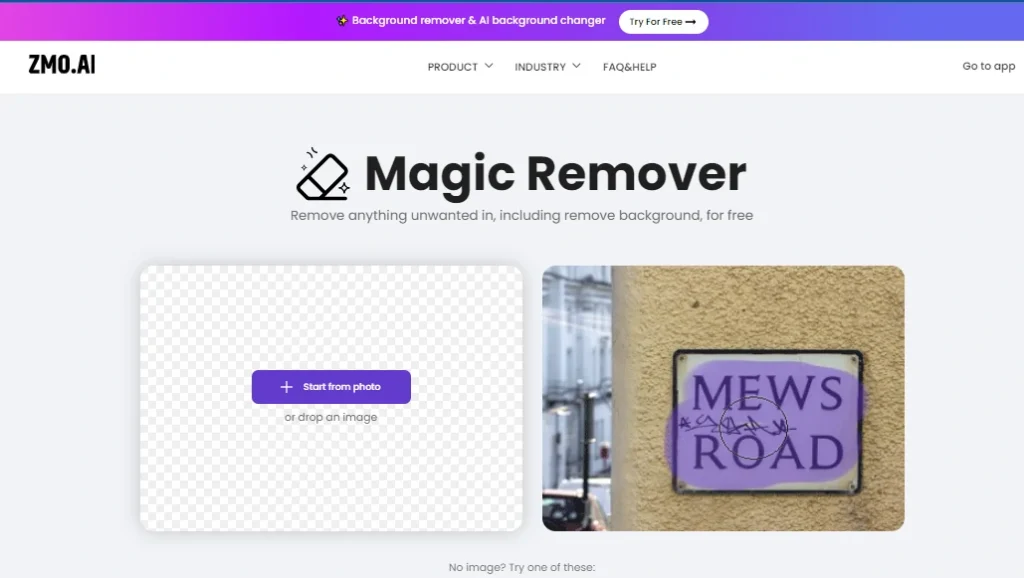
Step 1: Select Magic Remover:
To access the Magic Remover tool, go to the ZMO.AI website (https://zmo.ai/) and click on the Magic Remover option from the menu at the Top of the page.
Upload the Photo:
To upload the photo, click the Upload Image button on the left side of the screen and select the photo from your device.
Select the Blemish with a brush:
To select the Blemish that you want to remove, use the tool. You can change the brush size using the sliders below the tool. You should paint over the Blemish with the brush, ensuring a mask fully covers it.
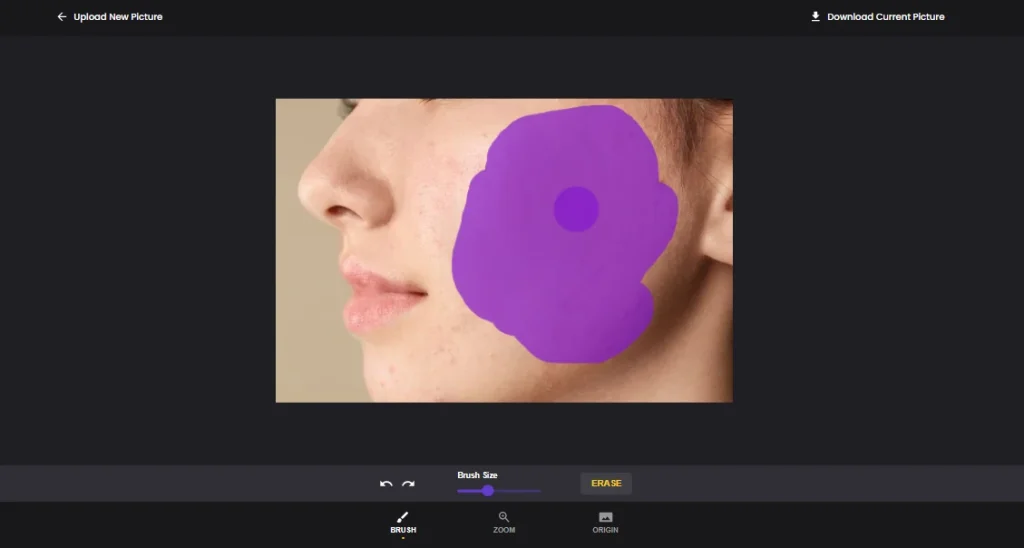
Click on Erase:
To remove the Blemish, click the Erase button at the bottom of the screen. You should see the Blemish disappear and the background fill in the gap. You can also compare the before and after images by clicking on the Origin button at the Top of the screen.
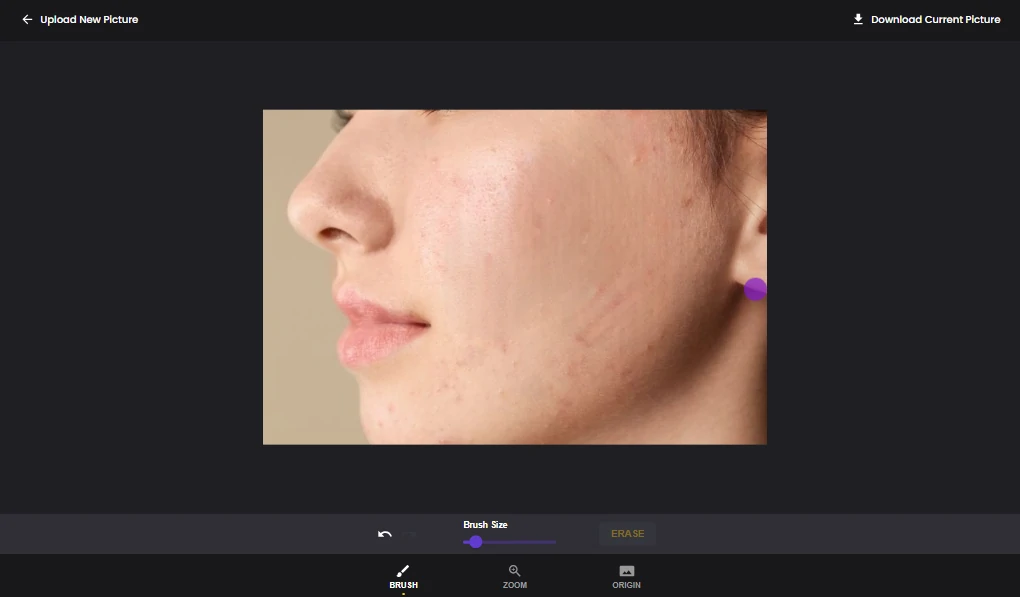
Enjoy the result and download it:
To save the edited photo, click the Download button at the Top of the screen.
Other Features of ZMO.AI
ZMO.AI is a tool to remove blemishes from photos and a platform that offers many other features to enhance and transform your photos. Some of the other features that you can use are:
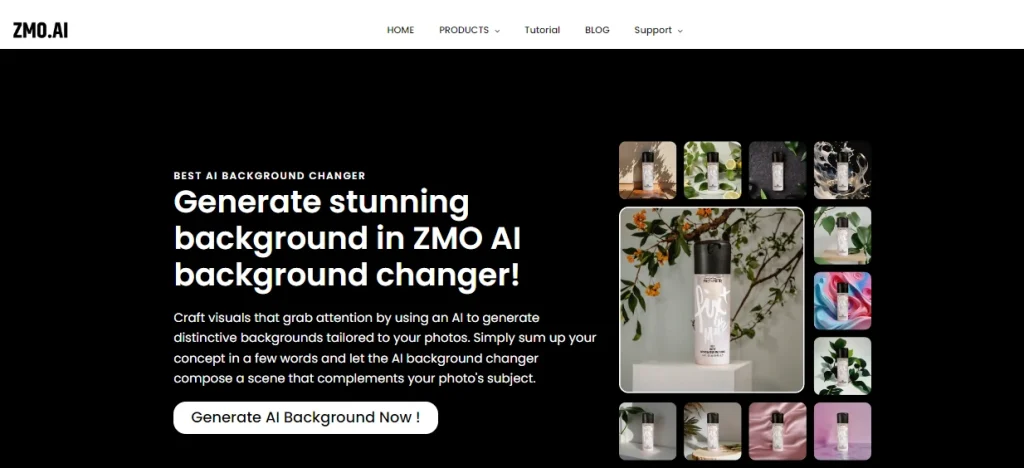
Change Background:
This feature can change the background of your photo to any image of your choice. You can upload your image from your device or pick from the gallery of backgrounds provided by ZMO.AI. Adjust the blending and cropping options to make the background fit your photo perfectly.
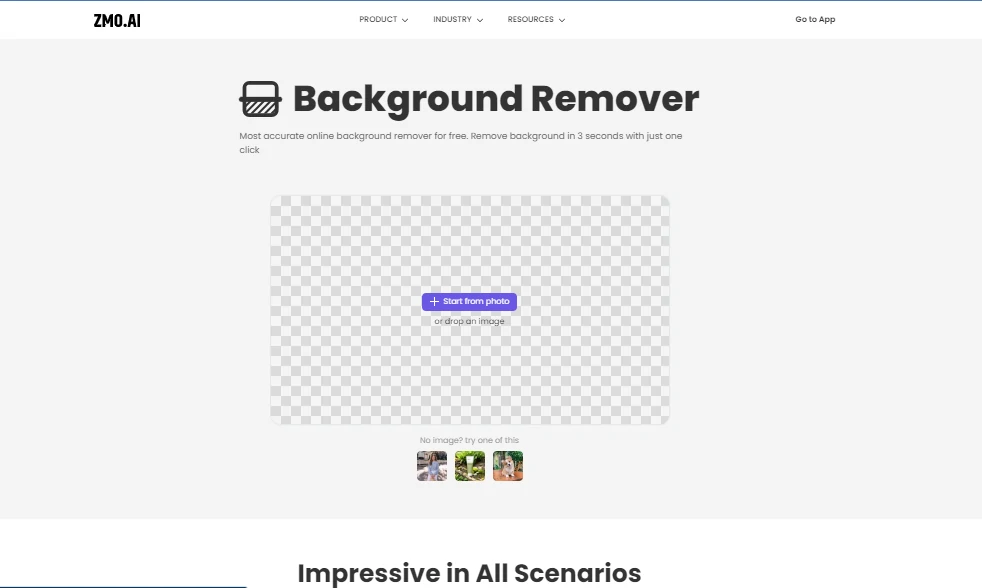
Remove Background:
This tool can remove the background from your photo and make it transparent or replace it with another image of your choice. This is useful for creating stickers, logos, or cutouts from your photos. You can also purify the edges and erase any unwanted parts of the foreground or background.
Generative Fill:
This feature can fill in your photo’s missing or damaged parts with realistic and seamless content. You can use this feature to restore old or torn photos or to remove unwanted objects or people from your photos. You can also control the direction and style of the fill using the brush tool.
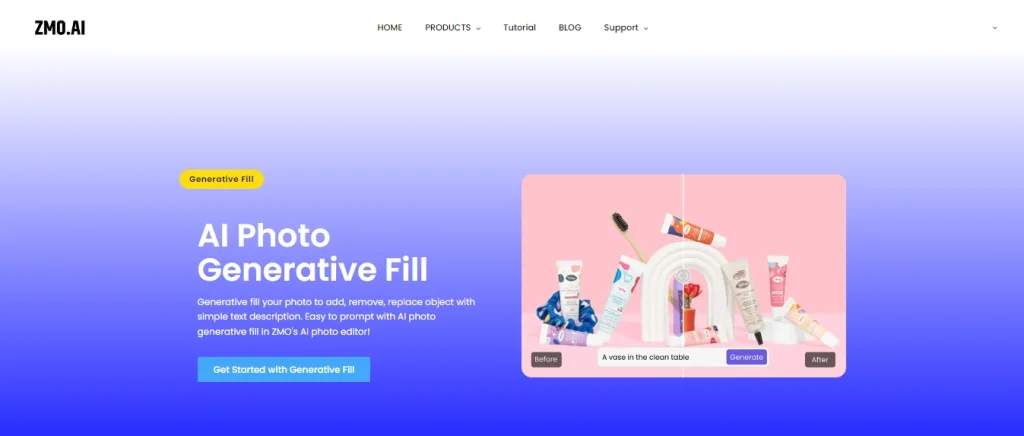
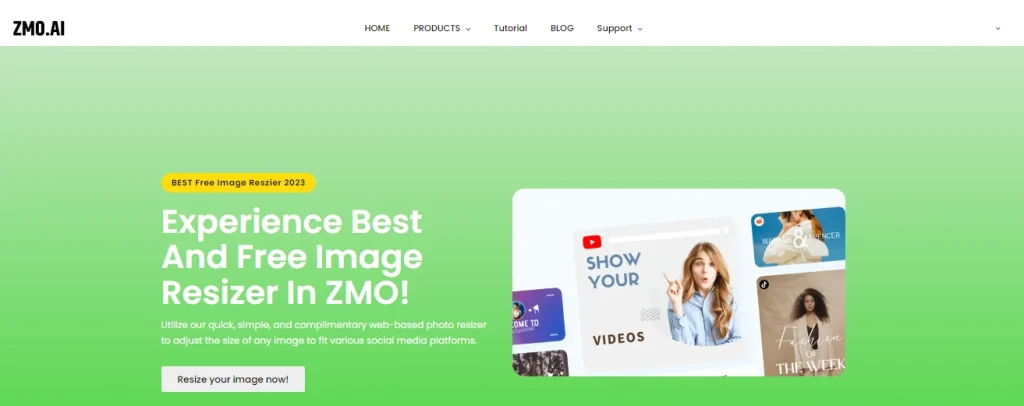
Image Resize:
This feature can resize your photo to any dimension or aspect ratio. You can use this feature to crop, rotate, or flip your image or to change its resolution or quality. You can also choose from the preset sizes for different purposes, such as social media, web, or print.
Magic Remover:
It can automatically detect and remove any unwanted object from your photo in one click. This feature can eliminate distractions, clutter, or mistakes from your photos. Utilizing the eraser tool, you can also undo or redo the removal or fine-tune the result.
AI Model:
This feature can create a realistic and customizable 3D model of your face from your photo. You can use this feature to create your avatar, emoji, or meme or to try on different hairstyles, accessories, or expressions. You can also animate or export the model to use it in other applications or platforms.
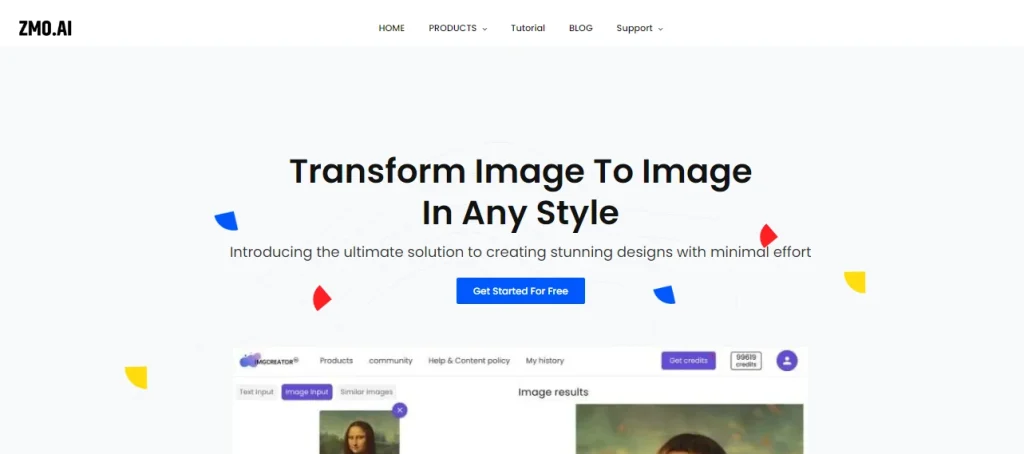
Image to Image AI:
It can transform your photo into another image of your choice using artificial intelligence and machine learning. You can use this feature to make unique and artistic effects, such as turning your photo into a painting, a sketch, a cartoon, or a mosaic. You can also adjust the intensity and style of the transformation using the sliders.
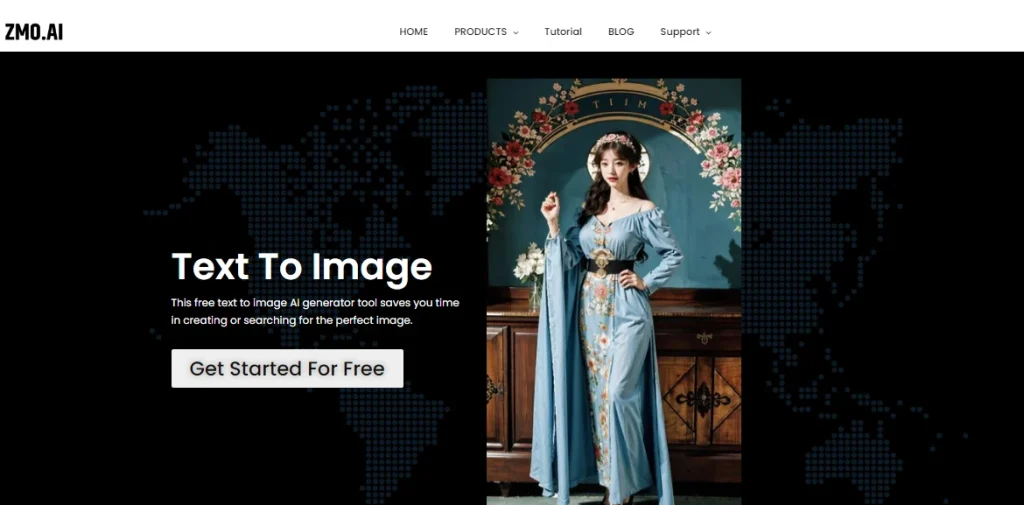
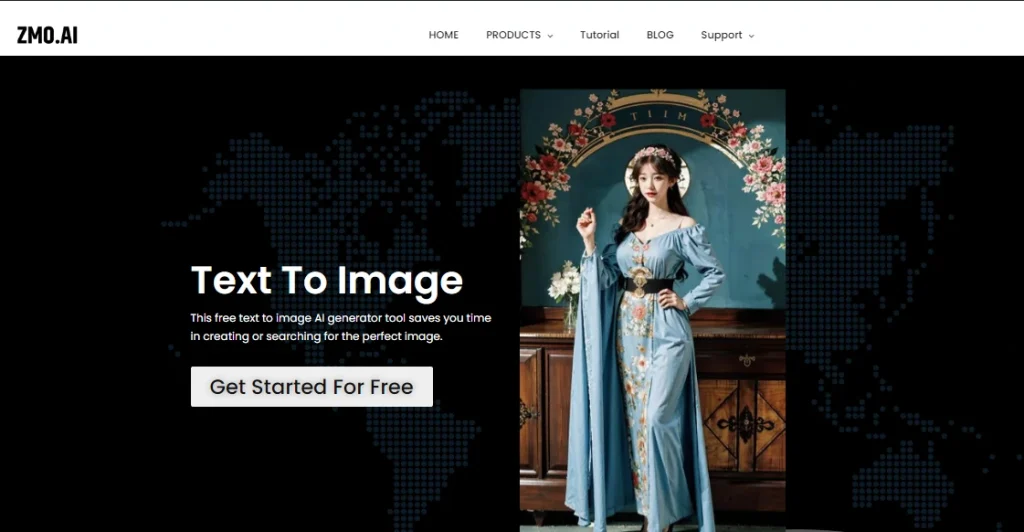
Text to Image:
It can generate a realistic and relevant image from any text you enter. You can use this feature to create illustrations, logos, icons, or memes from your text. You can also edit the text or the image or combine them with other features of ZMO.AI.
AI Anime Generator:
Using artificial intelligence, it can generate a unique and beautiful anime character from your photo. You can use this feature to create your anime avatar or to see how you would look in an anime style. You can also customize the character’s appearance, such as the hair, eyes, skin, clothes, or accessories.
Why ZMO.AI over Photoshop
While Photoshop is a powerful and versatile photo editing software, it also has some drawbacks that make it less suitable for removing blemishes from photos. Some of the reasons why you might prefer ZMO.AI over Photoshop are:
Ease of Use:
Photoshop has a vertical learning curve and requires many skills and knowledge to use effectively. ZMO.AI, on the other hand, is very easy and intuitive to use and does not require prior experience or training. You can remove blemishes from photos with just a few clicks and without manual adjustments.
Speed and Convenience:
Photoshop takes a lot of time and needs help to download, install, and update, and it also consumes a lot of space and CPU resources on your device. ZMO.AI, on the other hand, is an online tool that works on any browser and device and does not require installation or updates. You can remove blemishes from photos in seconds and without any hassle.
Cost and Accessibility:
Photoshop is a paid software that needs a plan or a license and limits the number of devices you can use it on. ZMO.AI, on the other hand, is a free tool that does not require registration or payment and allows you to use it on unlimited devices and photos.
FAQs
Does ZMO.AI require any prior experience or training?
No, ZMO.AI is designed to be user-friendly and intuitive, requiring minimal learning and no specific skills or training to remove blemishes from photos effectively.
Can ZMO.AI be used for personal as well as commercial purposes without restrictions?
ZMO.AI’s free usage and lack of registration requirements make it accessible for personal and commercial purposes. Users can edit photos for various applications without limitations.
Does ZMO.AI offer a feature to undo or redo changes made during editing?
Yes, ZMO.AI allows users to undo or redo changes, offering flexibility and control over the editing process. This ensures that users can fine-tune their results to achieve the desired outcome.
Can ZMO.AI be used on mobile devices, such as smartphones or tablets?
ZMO.AI’s online nature ensures compatibility with various devices, including smartphones and tablets. Users can conveniently edit photos on the go without needing a computer.
Verdict
Removing blemishes from photos enhances their quality for personal or professional use. The robust editing software Photoshop offers a manual approach with the spot healing brush tool, providing control over the editing process. Alternatively, ZMO.AI, an online tool, employs artificial intelligence for quick and effortless blemish removal. ZMO.AI stands out for its user-friendly interface, speed, convenience, and cost-free accessibility. Unlike Photoshop, it requires no installation or subscription, making it an efficient choice for users aiming for a hassle-free experience. Consider ZMO.AI for its ease of use, quick results, and versatility in addressing various photo editing needs.