
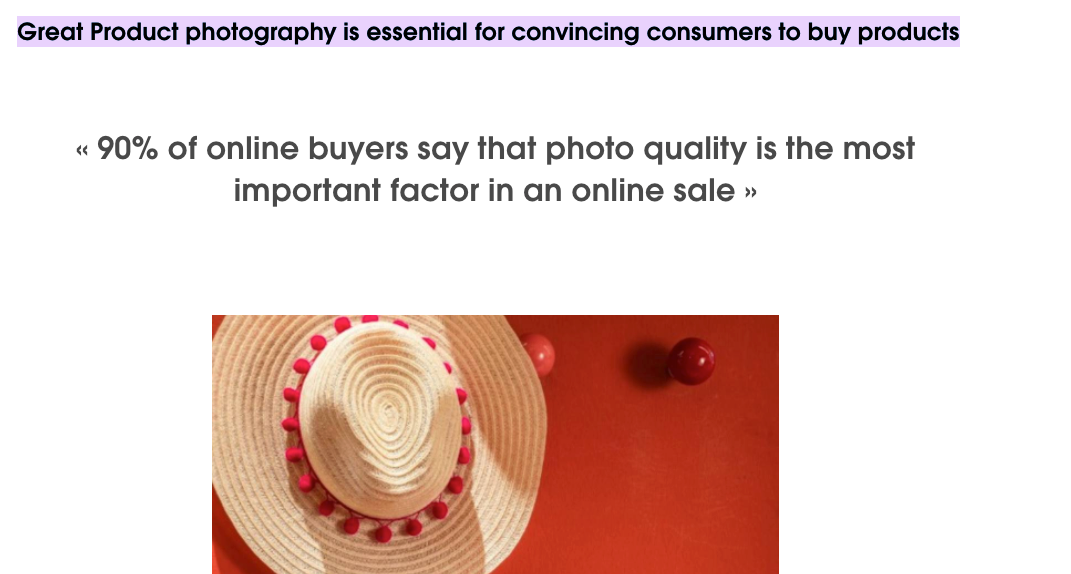
As there are more players in the fashion industry, owners must use creative hacking tricks to stand out. Among the different strategies you can think of, there is one that has a huge impact on buying behaviors: product photography.

Obviously garment photo is a must-have if you’re running an e-commerce website, but it’s not enough on its own. Nowadays people, especially the X, Y, Z generations, are more likely to buy an item of clothing if they can visualize how it’ll look when they wear it — they want to see the product as if it’s part of their own daily lives.
Now everyone knows they need product and model images, but so many issues start to come up:
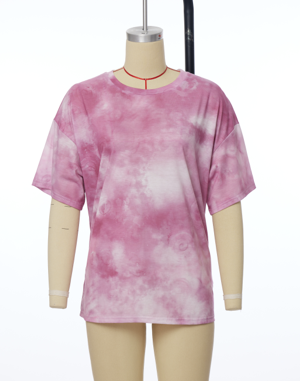
Should I choose model images or mannequins? It costs too much to hire a model, photographer, stylist, makeup artist, set director, etc. It takes too long for the whole process and I need a minimum of 40 products in order to start model shooting. How can I know what type of model should I choose?
Most companies take a “spray and pray” to optimize their photos. They test everything blindly or test random elements – hoping it will somehow work. But your budget is limited, don’t waste money because you don’t learn the tips!
Below we will cover 5 proven DIY steps you should follow to get perfect product and model images:
STEP 1: Make sure you are well prepared
Remember, Wrinkle and Pure Lighting will ruin your clothing images and that’s what most start-up clothing online stores fail to do. Clothes get wrinkled and creased due to storage or transportation. Taking a picture in this pitiable condition can leave a foul taste on your buyers.
- STEAM: Please take out the clothing from the packaging, hang it on a rack, and steam it. If there are any damages like stain and excess thread, remove it.
- Lighting: Partial and direct illumination will not work. It should be even. So a single light source won’t work, you will need 3 at least. softbox (for diffusing light)
- Backdrop: Please use a white or grey backdrop, don’t use green or other loud colors. Those colors will reflect colorful light onto your clothing and it will ruin the lighting of your garments. A seamless roll of white backdrop or plain white cloth without creases will work. If you don’t have a stand, you can tape it to the wall.
- Camera: As long as your camera has accurate colors and high-quality output, you are good to go (even a smartphone will work). These are white balance, ISO, and aperture. High ISO levels can make your pictures grainy, and reduce the sharpness of the product. As much as possible, have the ISO settings around 100-200 only. Aperture, on the other hand, is the focus (f/10, f/12, etc.). Lastly, white balance determines how your gear interprets colors in different lighting types. If you are unsure, you can choose AUTO and let your camera do its magic.
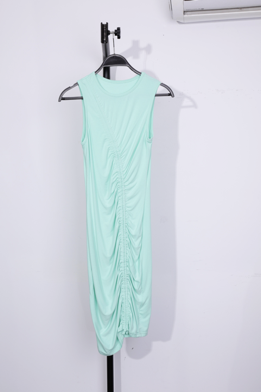
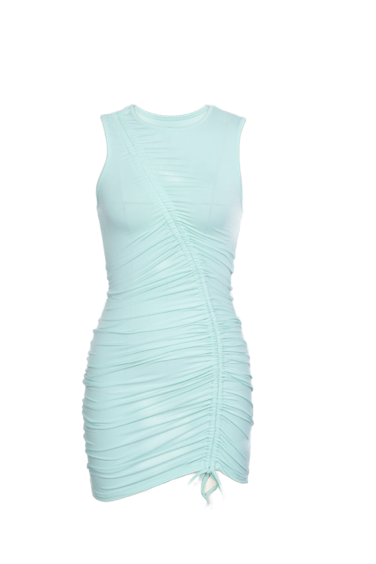
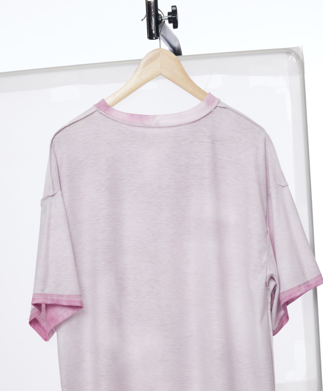
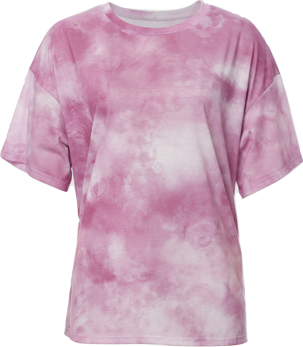
STEP 2: Take Photos with Ghost Mannequins
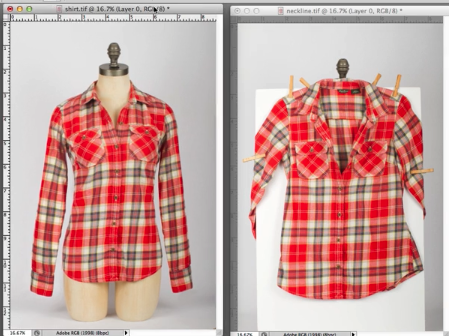
The secret of invisible mannequin images is a combination of two or more images. The first image is on-body. The second and any additional images are flat views of any part of the interior of the garment that was blocked by your model or mannequin, usually hanging pictures or clipping the garment on a white foam board. (sometimes you may even need to turn cloth inside out if needed)
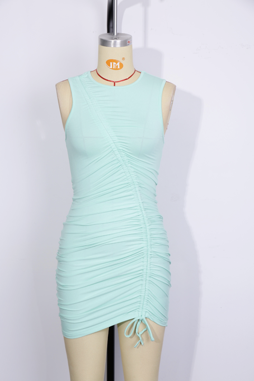
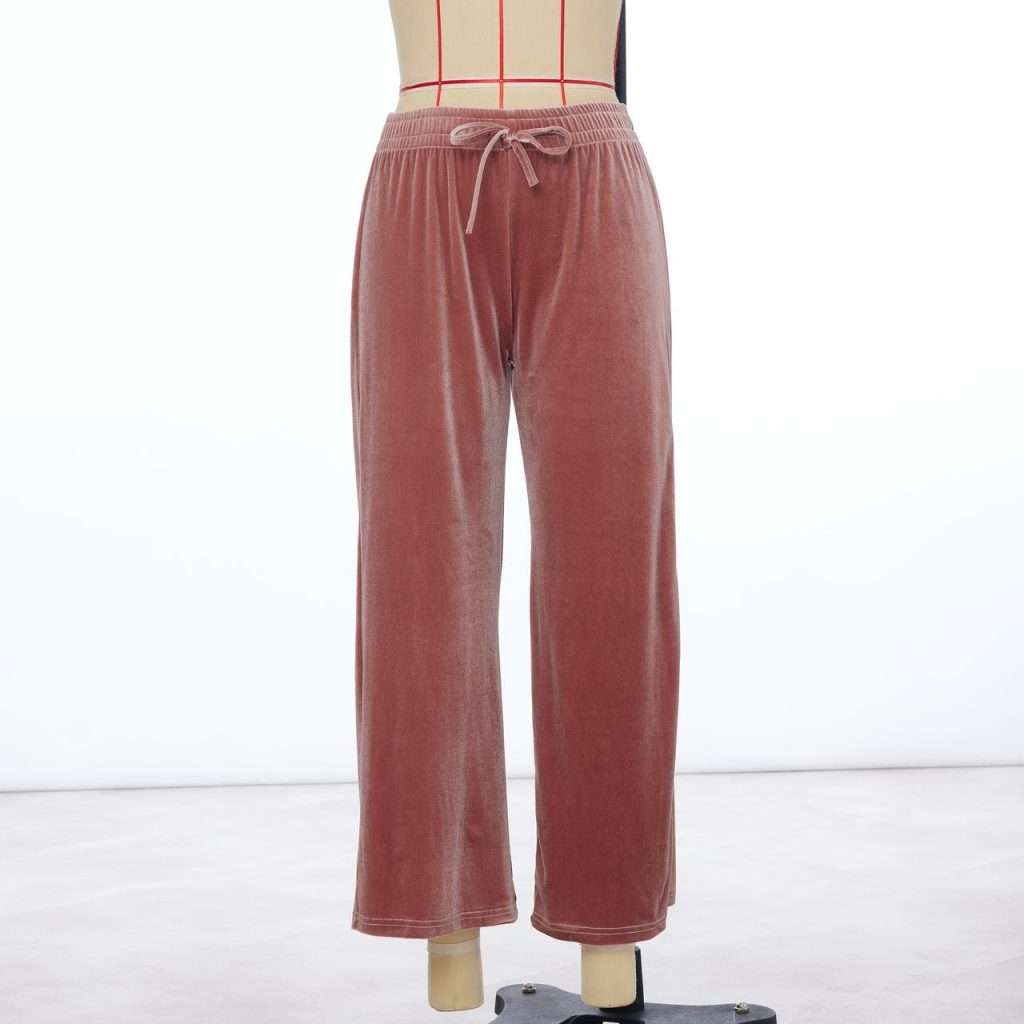
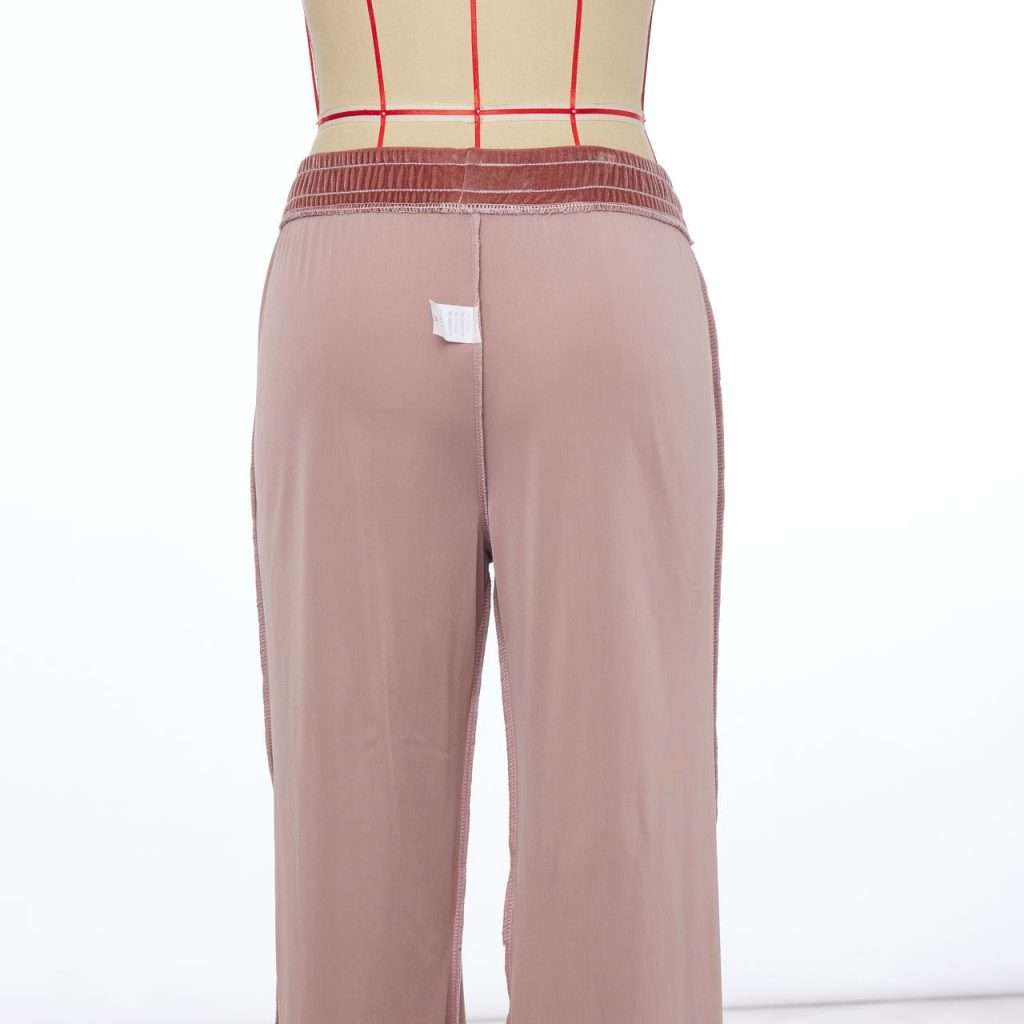
Following we summarize several types of clothes shooting tips for you:
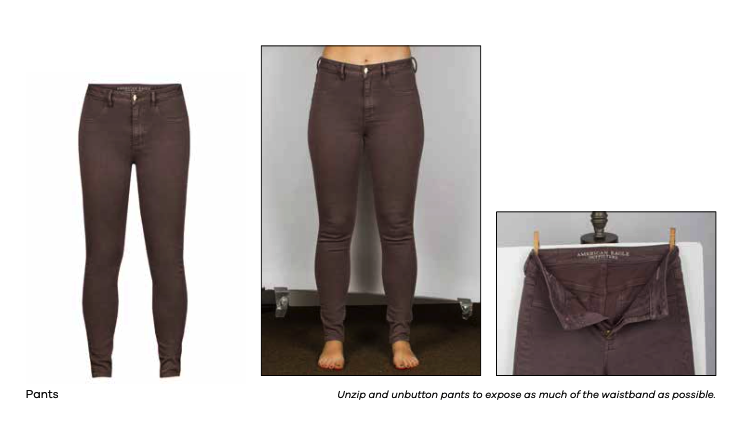
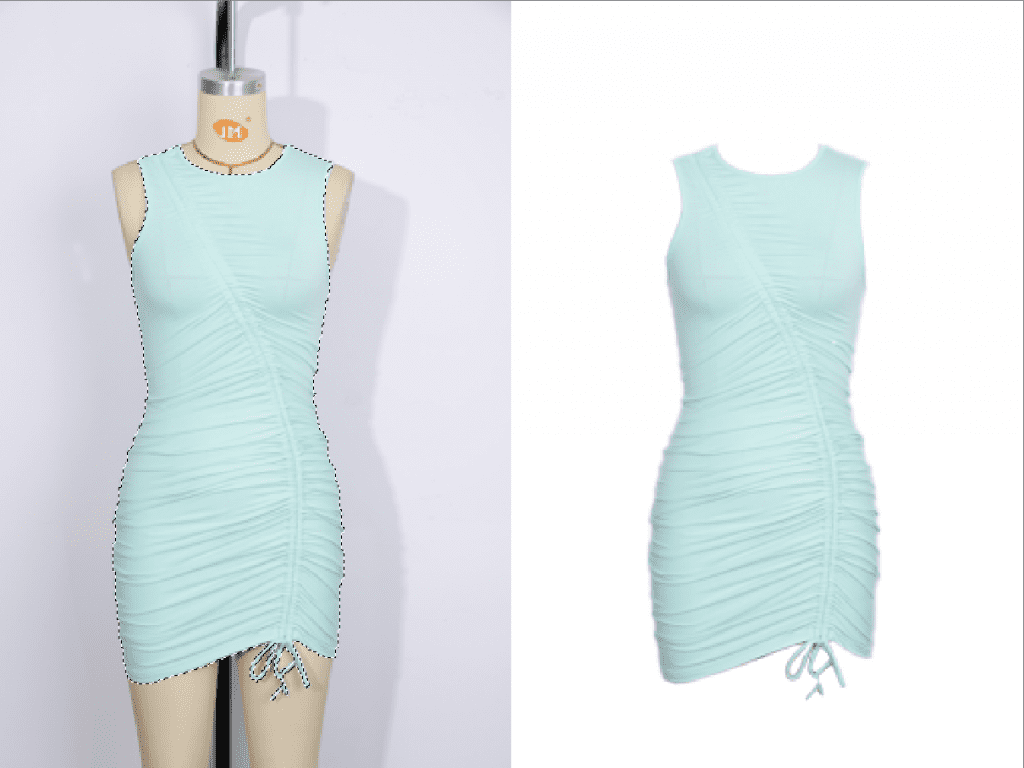
Pants
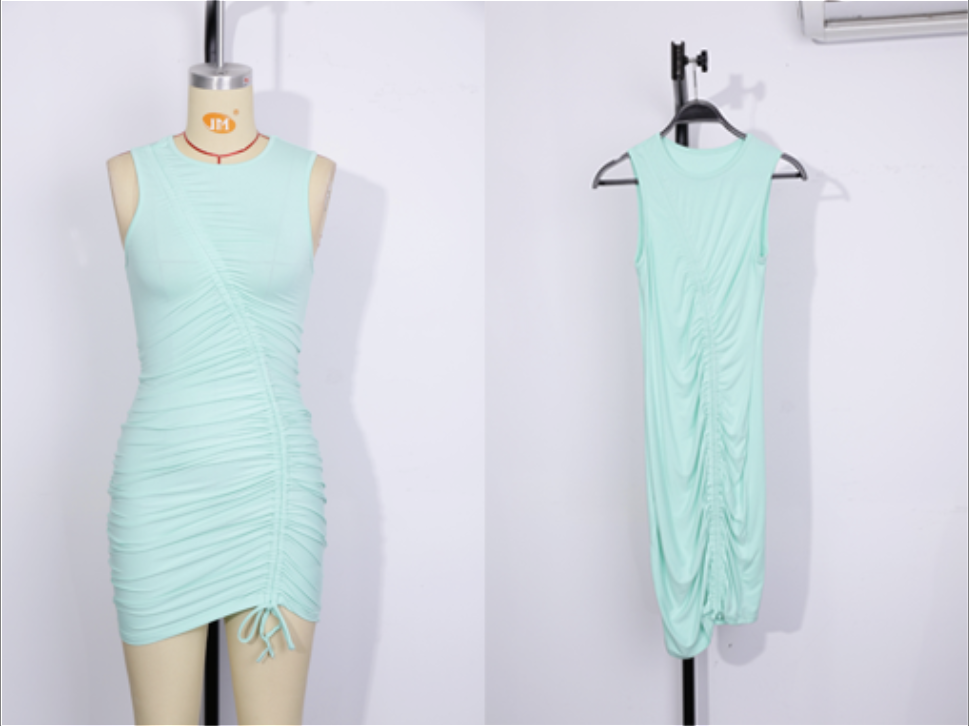
Dress
After you have captured the necessary views, it’s time for some Photoshop magic. You have two options for creating the invisible mannequin effect: do it yourself, or let AI tools like ZMO.AI help you do it quickly.
Option 1: DIY Step-By-Step Photoshop Instructions
- Import the mannequin and hanging image into different layers of photoshop and add one plain white color layer serving as the overall background.
- Use quick selection, lasso, or magic wand to select products in the mannequin image. Refine the mask so that all backgrounds and mannequins are eliminated and the mask is smooth and tight. Use Refine Edge tool to refine your mask edges to make them clean and smooth
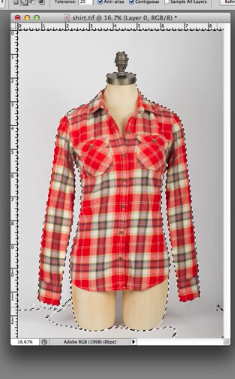
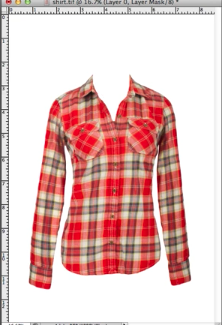
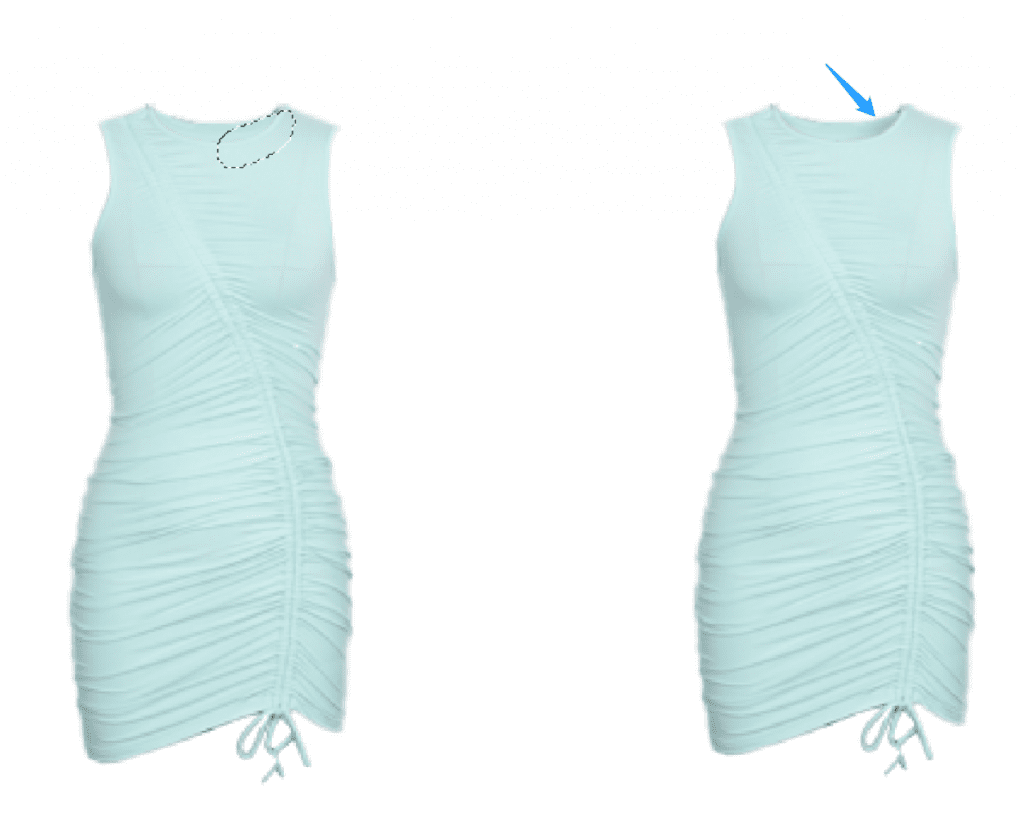
- Create a new layer, and use the same process as above on your hanging or flat-view image. Use quick selection, lasso, or magic wand to select the collar or bottom, or sleeve part that is exposed. Like below, you really only need to keep that neckline triangle between the shoulders and remove unneeded parts of the hanging or flat-view image.
- Now when both parts are selected nicely, we can combine them together. Organize the layers so that the hanging image is lower than the mannequin image. Then, adjust the positioning of the foam board layer and adjust its proportions so that it fits perfectly behind the mannequin layer, just below the shoulder in a rounded curve.
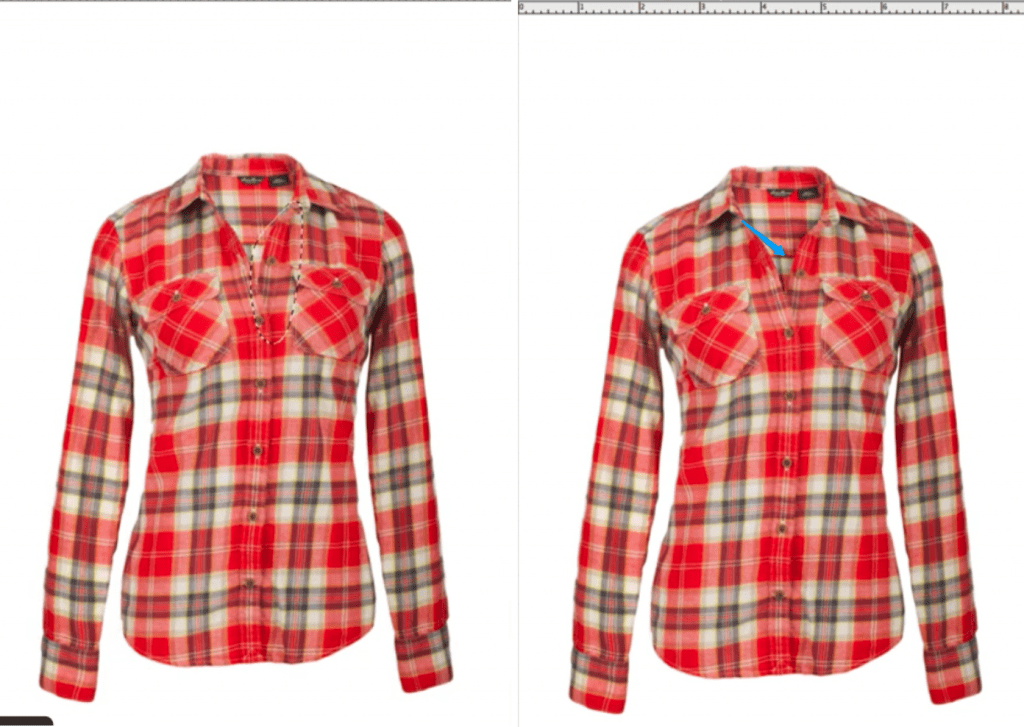
- Finally, we just need to add shadow between these two layers, and remember you need to analyze the direction of light on the product first. For example, you can find out the light is coming from the left side in the following example, so please only add a shadow on the left side

Option 2: Using ZMO.AI
If you want to save your time and improve the quality or get your ghost mannequin image by clicking the “Create” button, you should integrate ZMO.AI into your workflow.
Just pair your mannequin and hanging images and upload them, then ZMO.AI will automatically segment out the critical part of two images and combine them together. If there is anything imperfect about the result, users can still use the online tool to easily erase or reserve needed pixels. Within just 5 seconds, you get your perfect ghost mannequin!
[Please wait for PART 2]