
Background removers are crucial for making high-quality product shots, removing undesired items from images, and producing visually appealing photos to share on social media.
The most expert tool for this is Adobe Photoshop, although utilizing it can be difficult, especially for beginners. Simple background removal tools are available, but they are inadequate for adding more complex features like color adjustments or lighting modifications.
Fortunately, a new product on the market called BackgroundAI, an AI product photo generator, overcomes these problems.
How BackgroundAI can help people?
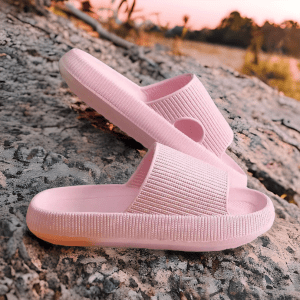
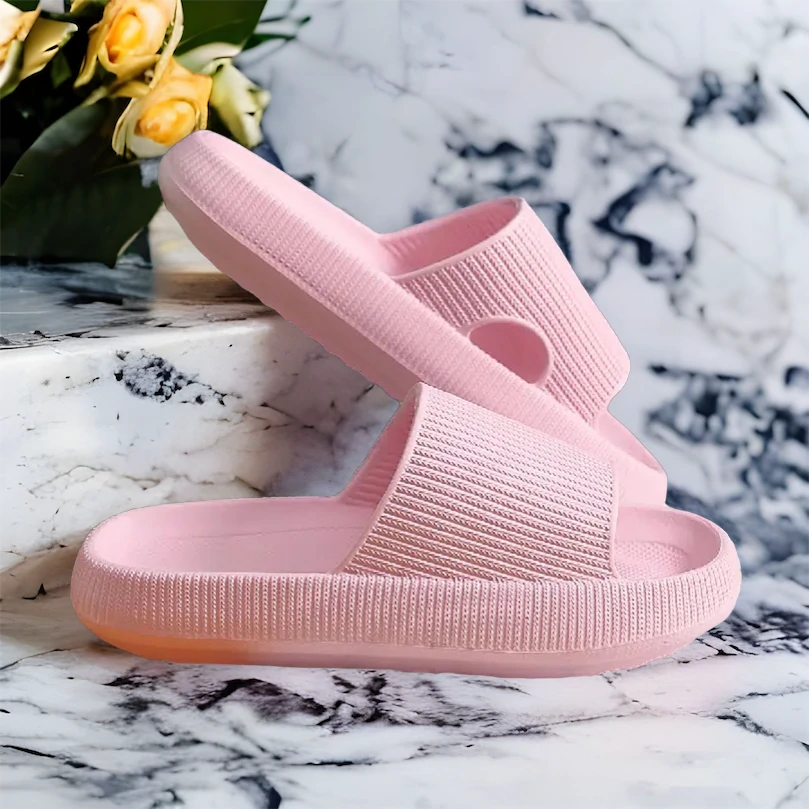
With BackgroundAI, however, taking product photos is a breeze. A single click of a mouse generates a photo of the slippers against a variety of backgrounds, including a backdrop of golden leaves or flowers and marble tiles.


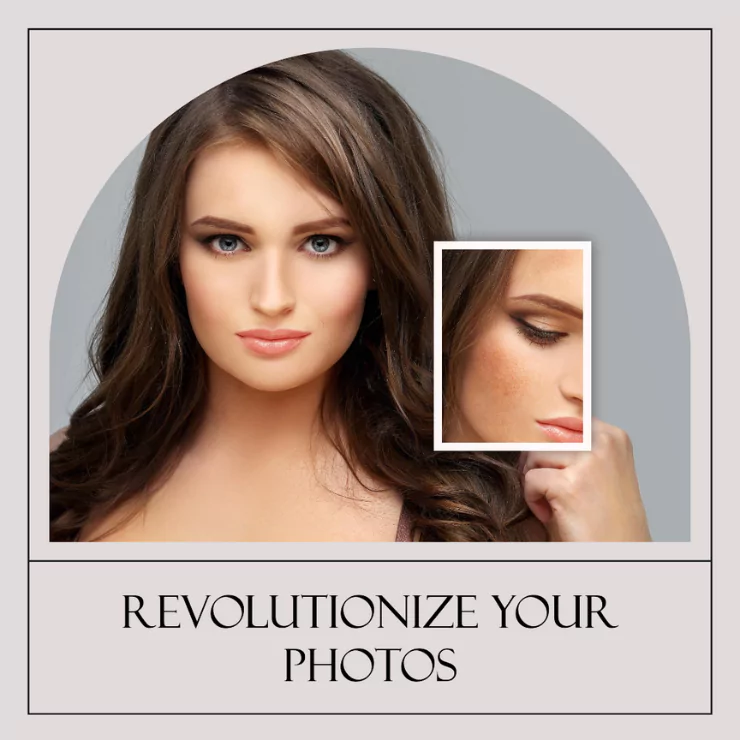
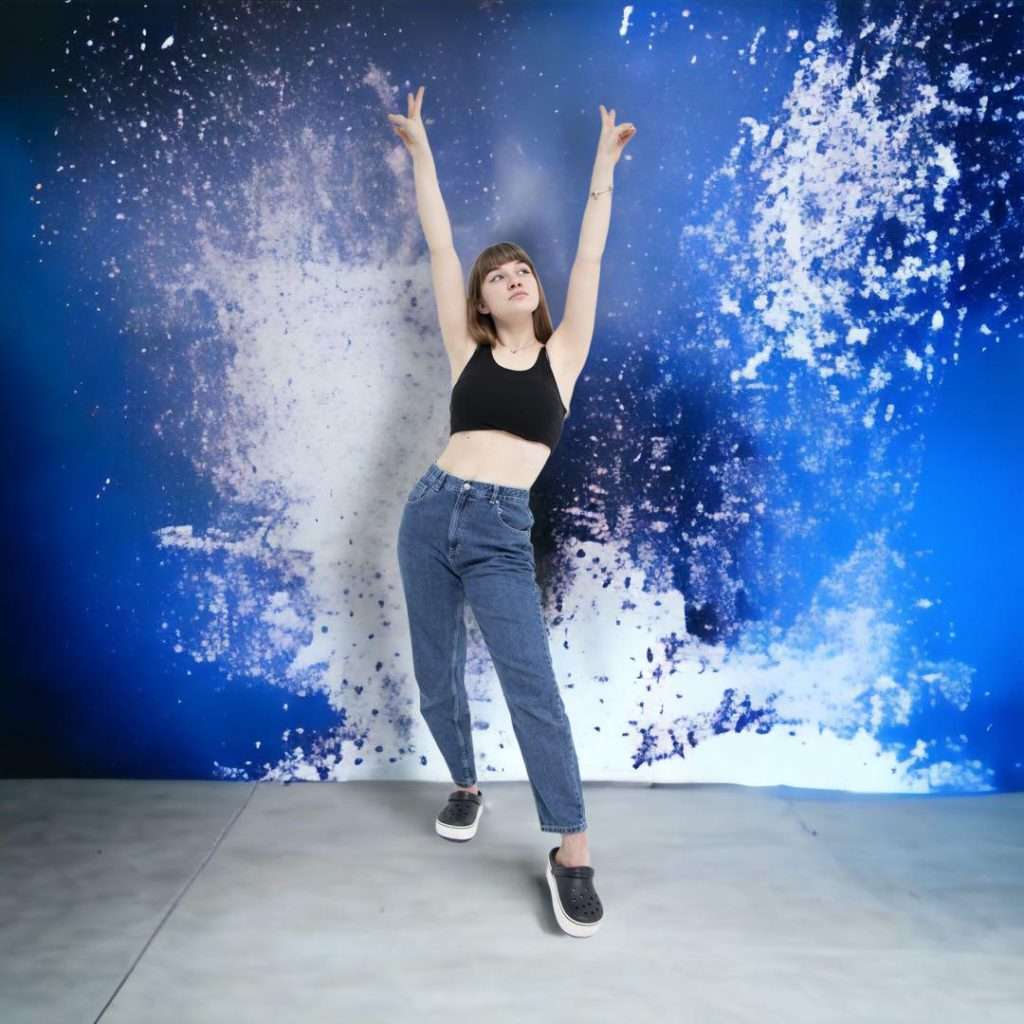
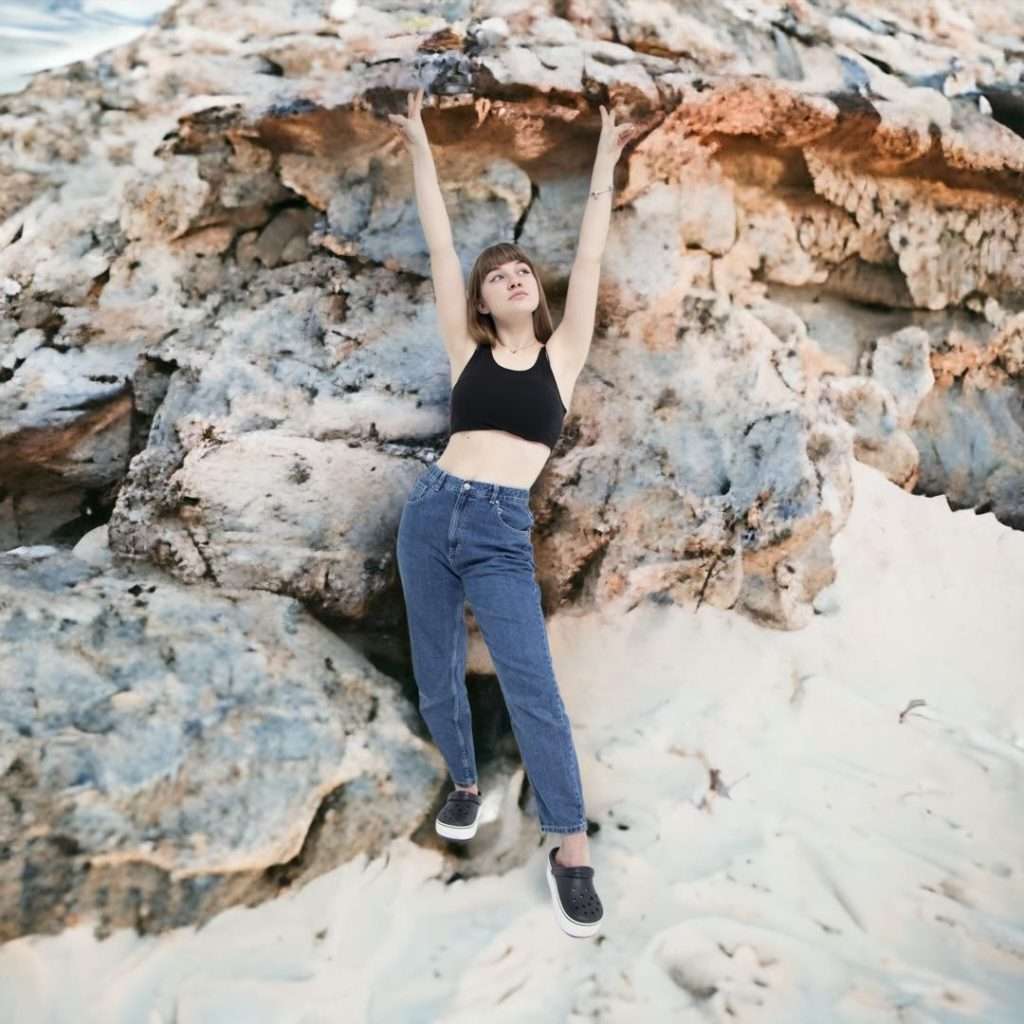
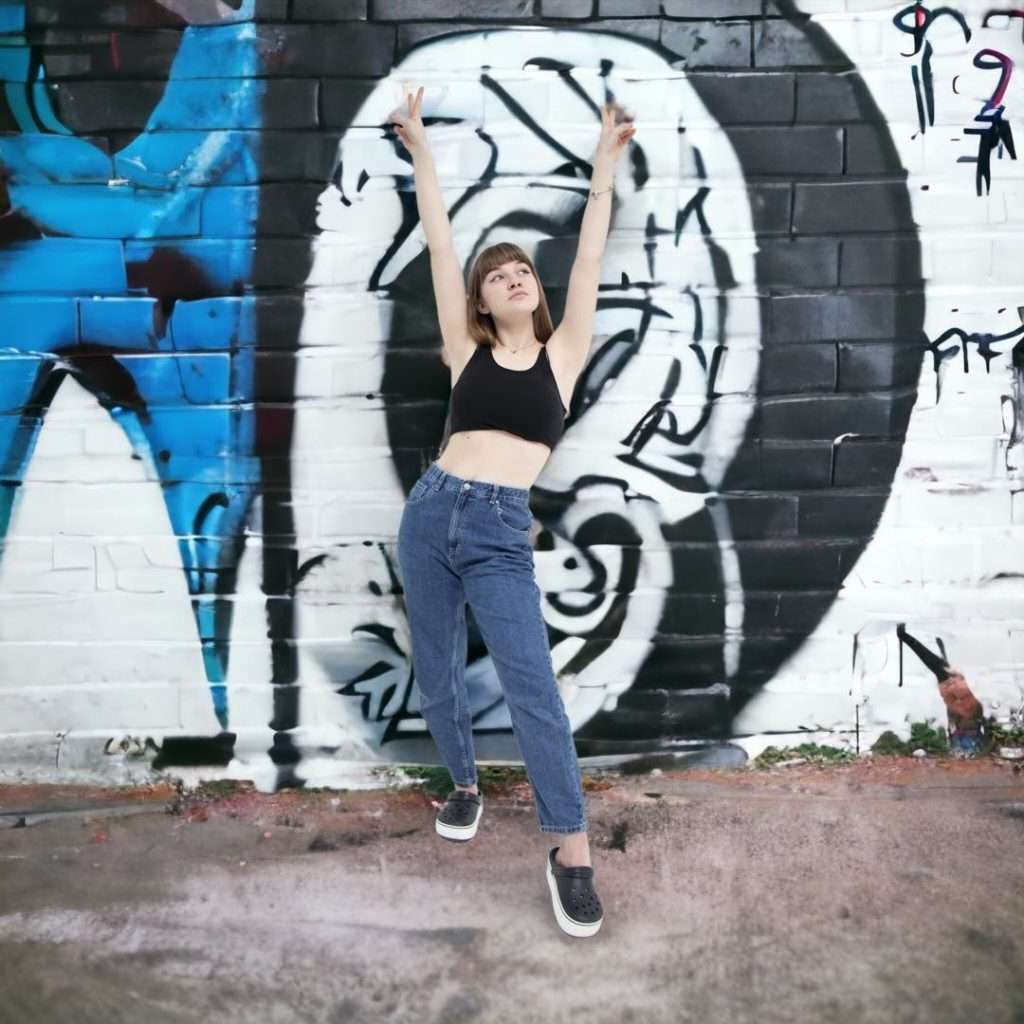
For portrait photography, BackgroundAI’s feature is even more crucial.
Rather than simply adding a new background to the image, this tool generates various backgrounds based on the original subject while preserving lighting and shadow consistency. This results in a more authentic and lifelike photo that looks natural.

How to use BackgroundAI in 5 steps:
If you’re looking for a quick guide on how to change backgrounds for your photos, here are the five steps you should take:
- Upload Your Image
- Create Transparent Background Automatically
- Choose a generation style of the product.
- Edit resulted photo
- Download Your Final ImageRead more
Read more: What is BackgroundAI?
In the upcoming sections, we’ll break down each step in the journey of how to edit backgrounds for beginners and provide more details.
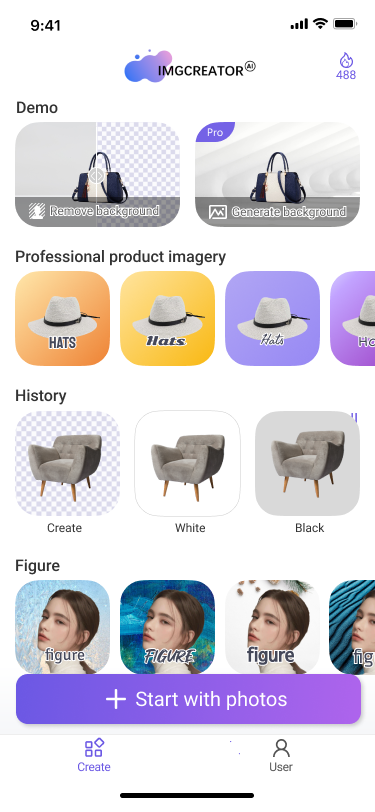
Step 1: Upload Your Image
Upload a photo that you want to remove the background of by choosing a photo from your files.
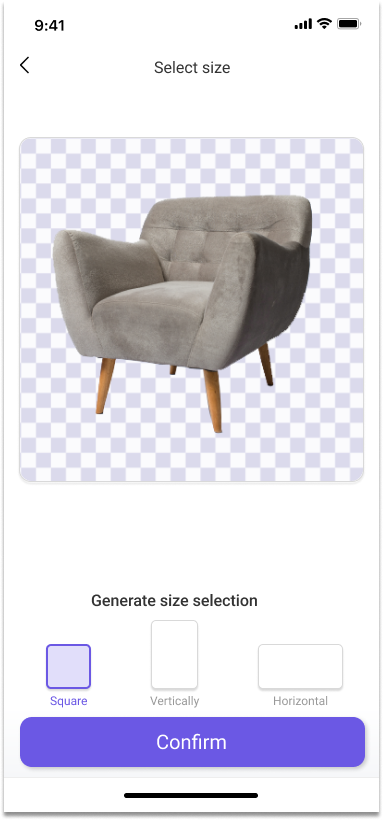
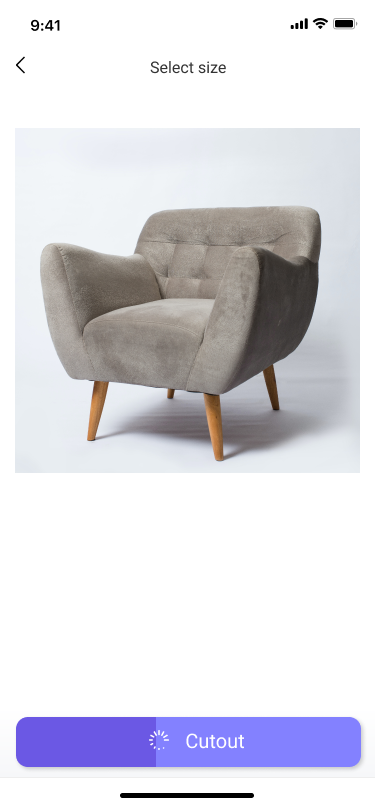
Step 2: Create Transparent Background Automatically
Within a matter of seconds, your subject will be cut-out from the image and have a transparent background. Also, you can then choose the canvas size that best suits your needs.
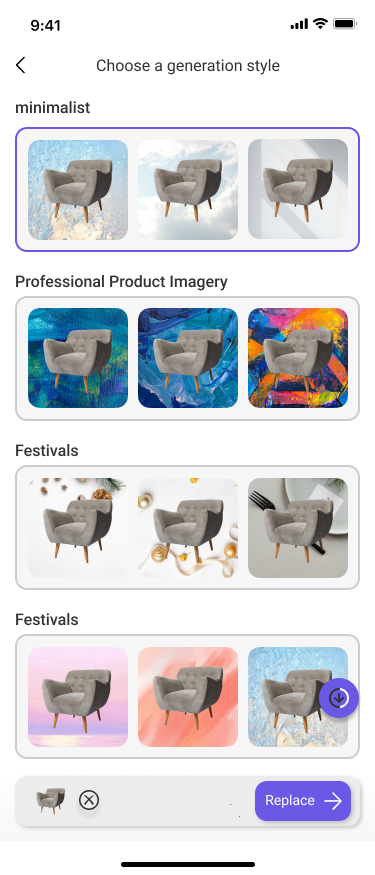
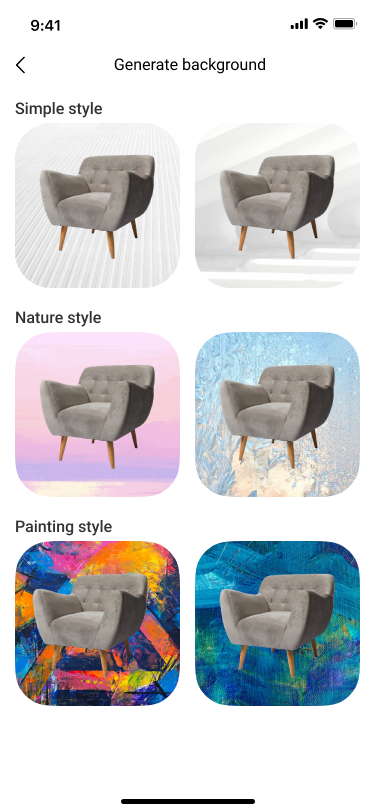
Step 3: Choose a generation style of the product.
Now select a preferred style that suits your taste. For instance, you can opt for minimalist, which includes simple styles, nature styles, and painting styles. After that, click on “Generate” and let the tool do its magic.
If you’re unsatisfied with the results, simply choose the “x” button and upload a different photo to try again.
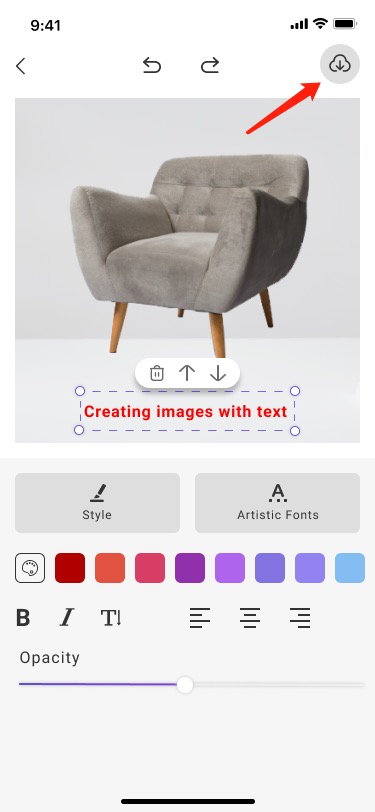
Step 4: Edit resulted photo
As you view the picture of a sofa with a simple background, you might find it lacking in interest. Don’t worry! Just click on the target photo and you’ll be taken to the edit space. You can:
- Choose a border that suits your style and preference. This will add an extra touch of detail and make your picture more visually appealing.
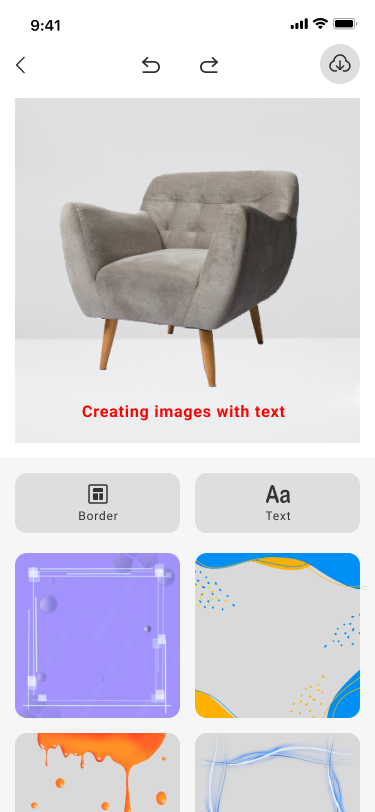

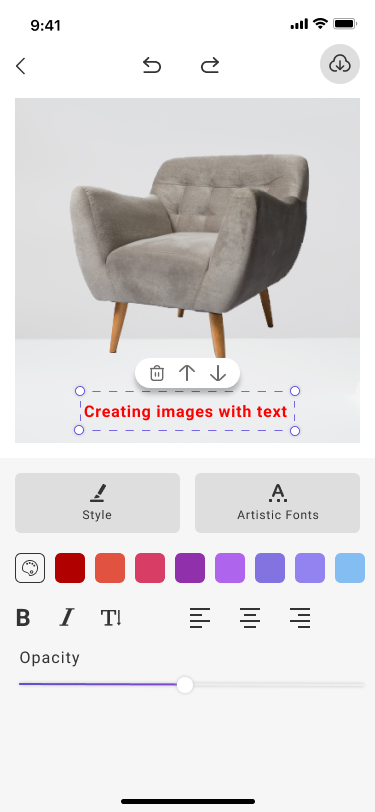
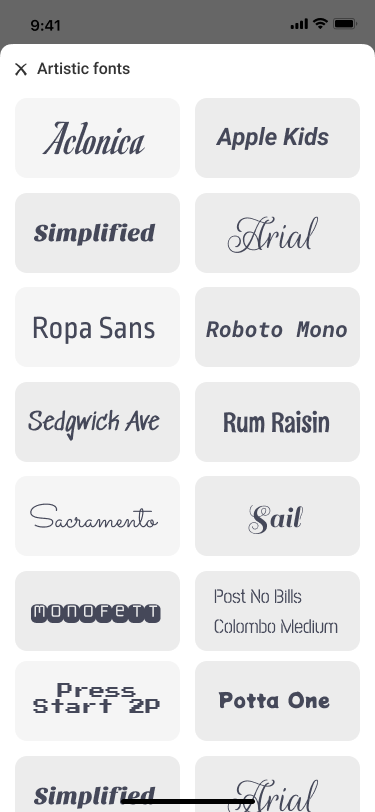
- Add text with specific details to make your picture more informative. Moreover, you can choose from different calligraphy options to match your preferences.
Step 5: Download Your Final Image
To get the final results, simply click on the Download button. There are two resolution options to choose from: 512×512 and 1024×1024.
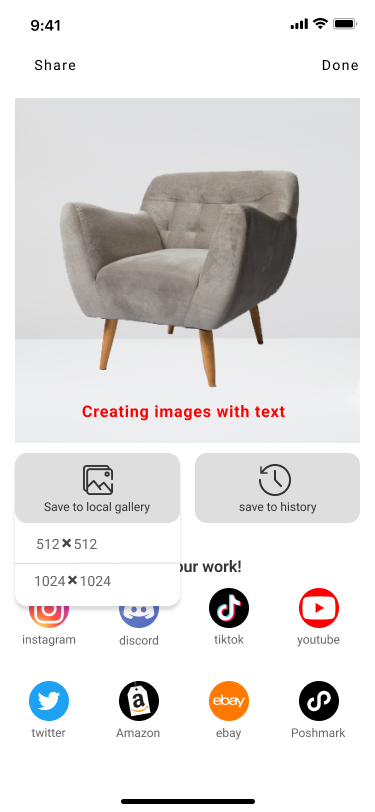
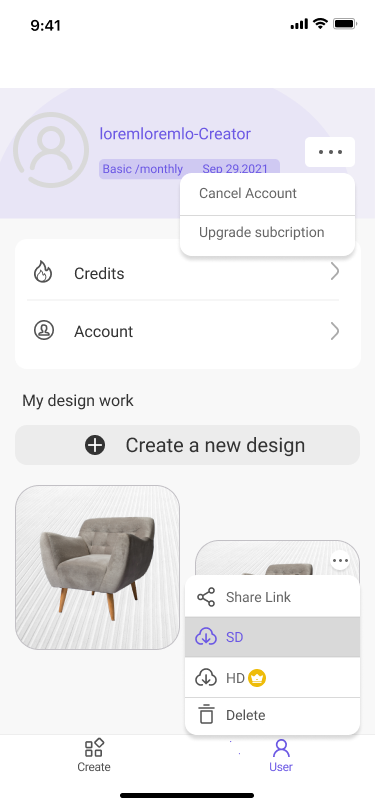
If you haven’t finished editing, you can also choose to “save it to history” for future editing. The next time you want to edit it, just click on “User” to find your saved photos.
Tips and Tricks
- Photos with a clear subject in the foreground make AI locate the objects better.
- Images with good contrast between background and foreground can be identified better.
- Plain backgrounds are better than busy backgrounds.
Pros of using BackgroundAI for photos
- Cost-effective: With traditional methods, booking a photographer or renting a studio can cost you nearly $500 for just one set of high-quality photos. But with BackgroundAI, you can get a hundred high-quality product photos for only $4.99.
- Simple to use: Compared to Photoshop, BackgroundAI is much easier to use. You don’t need to sign up for any courses or tutorials to learn how to use it because there are no technical terms or confusing buttons on its page. The process is simple and only requires three steps: upload your image, choose your preferred background, and generate your new product photos.
- Customizability:
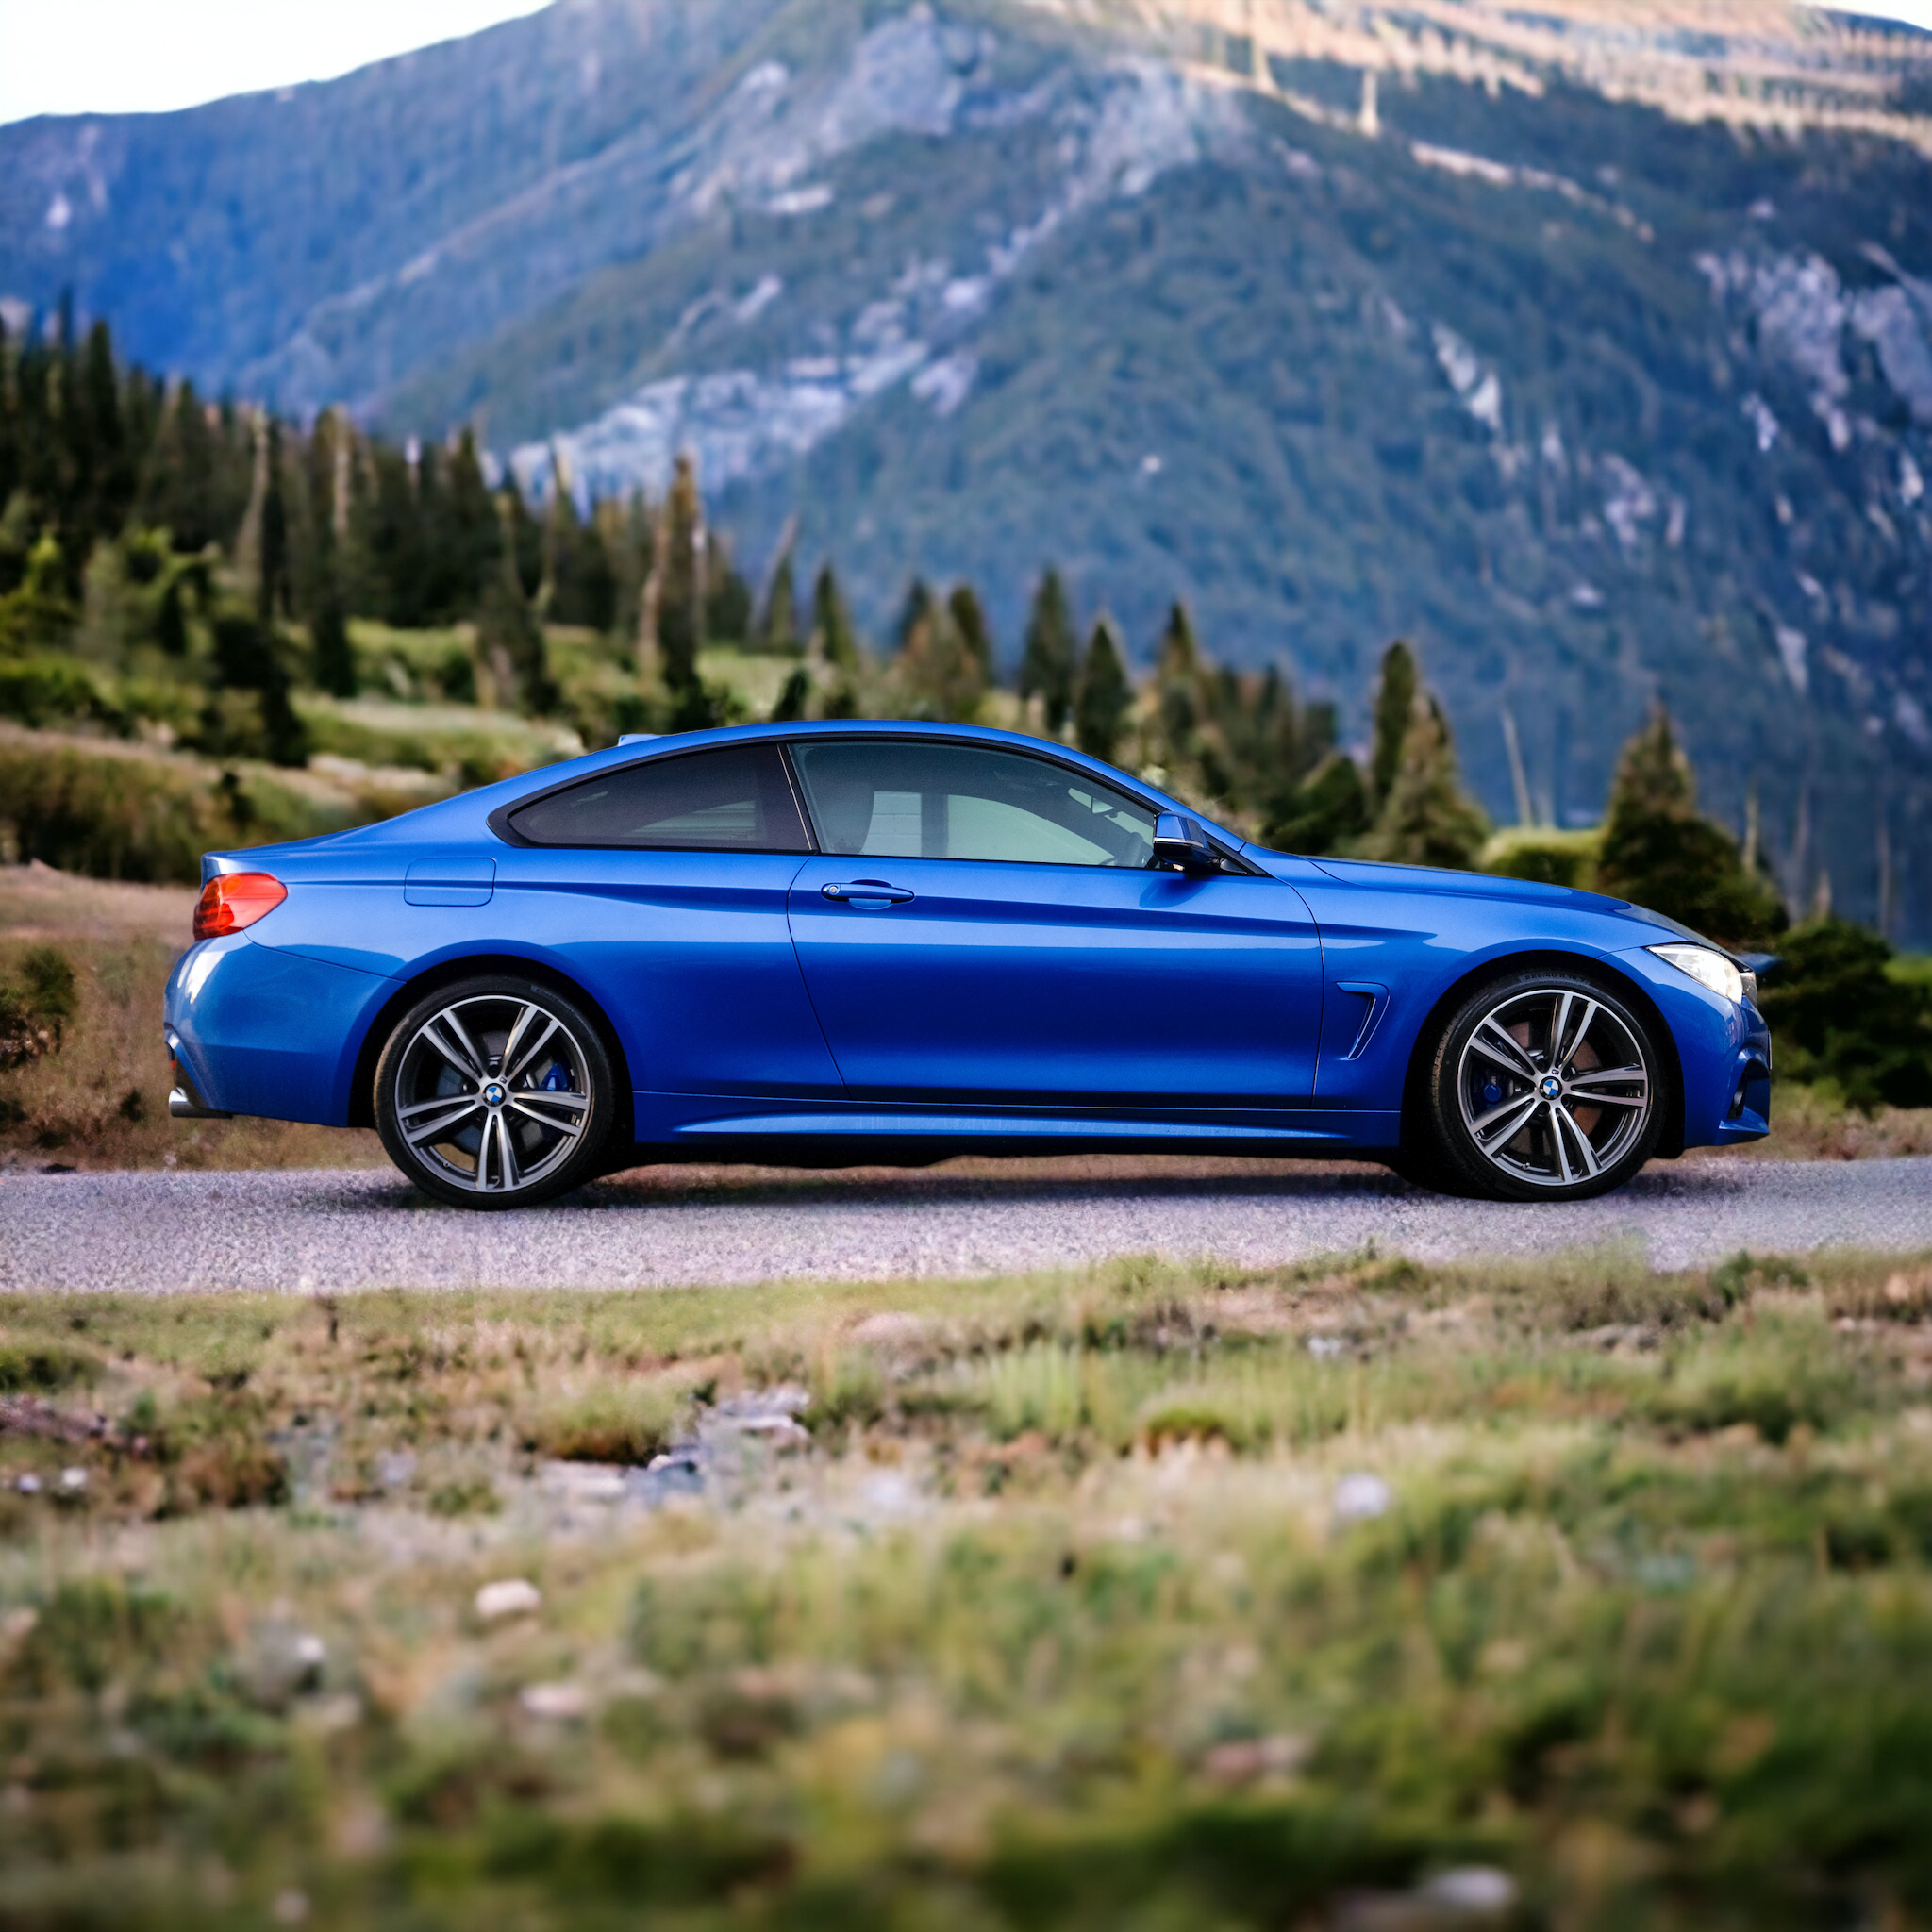
- With just one click, you can transform your photos’ environment from include mountain, factory, wooden table to interior home. Give your customers or audiences a more tangible and visual understanding of your contents. Say goodbye to the hassle of taking samples to specific places, purchasing props, and setting up the background yourself. BackgroundAI takes care of it all!
- In addition, BackgroundAI offers two different resolutions and sizes that are tailored to various social media platforms. This enables users to download the images in the exact size they need, based on their particular requirements.
- High-quality output: Unlike typical background removers, BackgroundAI uses advanced AI algorithms to replace the background based on the original object. This ensures that the lighting and shadows from the original image are preserved, resulting in realistic and consistent output.
- Platform Availability: No requirement to download any application or install it on the computer like Photoshop. BackgroundAI is accessible only via the website.